Pillows of Joy - Or Making Doughnuts
When you hear 'bakery course' you tend to envision warm, crusty loaves, smothered in rich butter. Not my wonderful friend Meredith. Purchasing her a gift voucher to attend Bread Ahead's bakery school led us to a cold morning at Borough Market, Brindisa coffee in hand, slightly overexcited with our decision to learn the art doughnut making.
If you have encountered one of the five Bread Ahead bakeries dotted around London you will no doubt be familiar with their doughnuts. Featured in many 'best doughnuts in London' lists, they are made fresh daily and sell in their hundreds, for a very good reason. Quite simply, they are delicious.
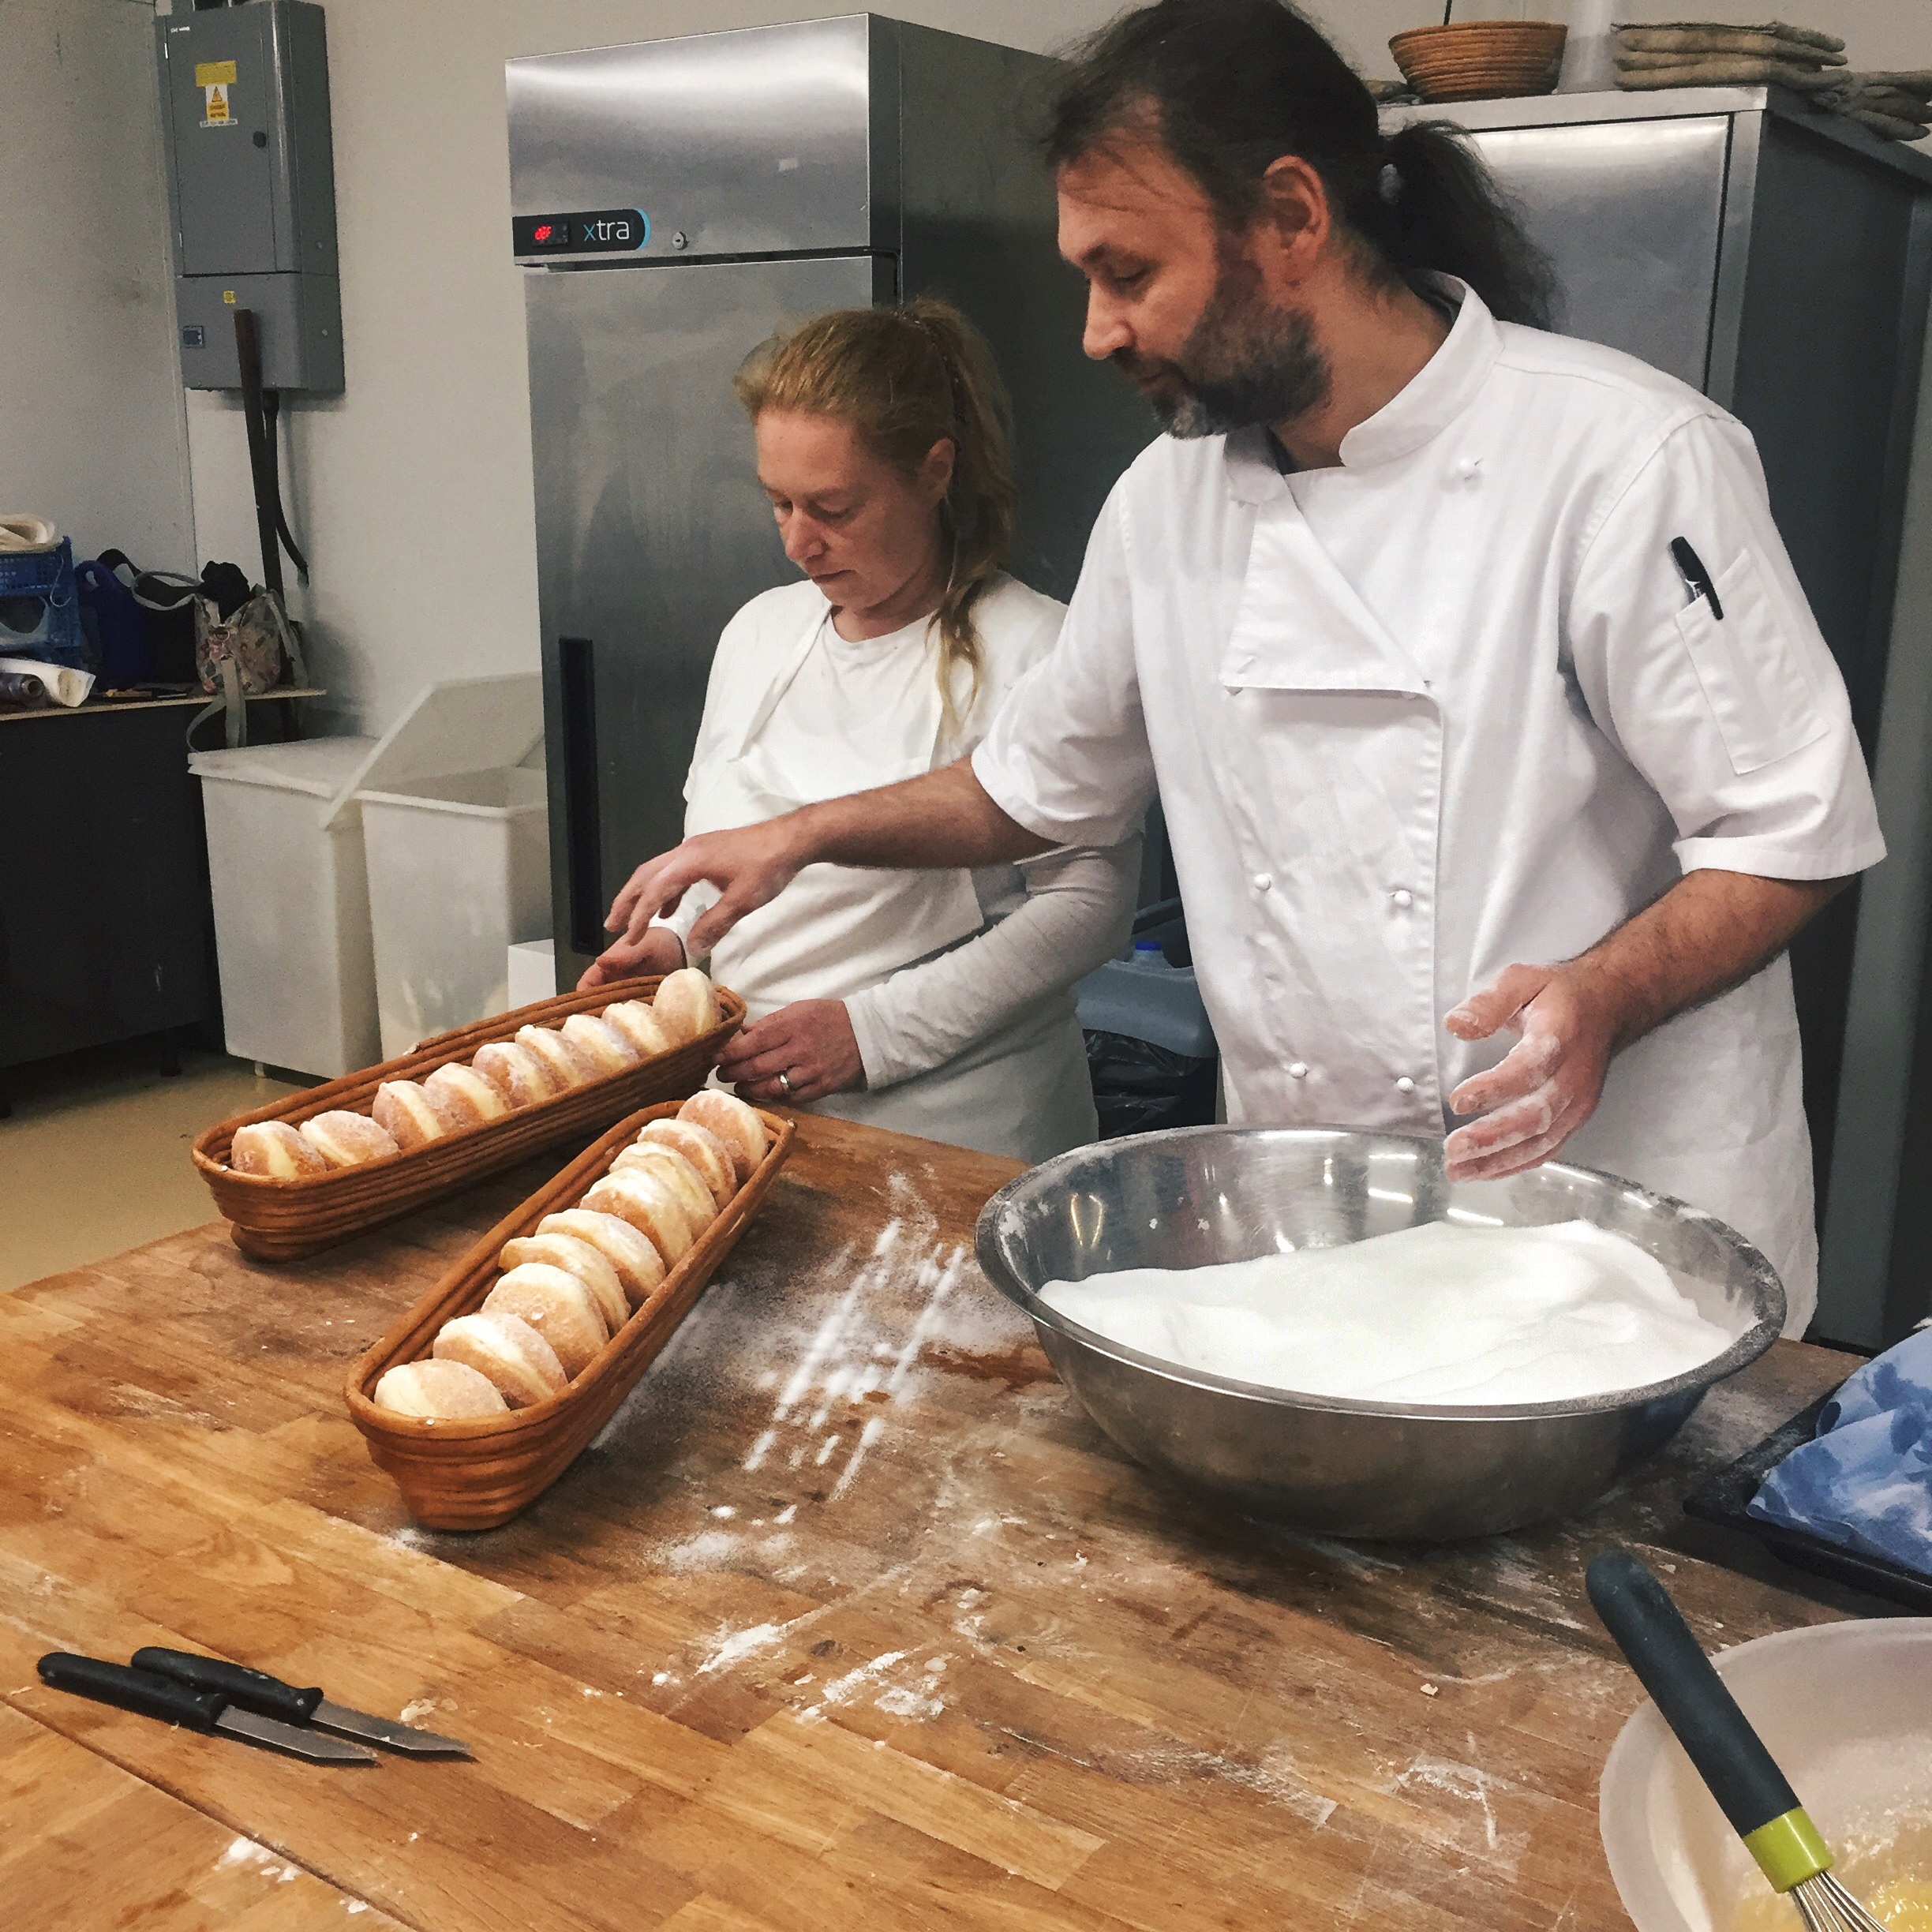
Justin Gellatly, our Master Baker for the next three hours, describes doughnuts as 'pillows of joy' to be treated with great fun and respect in his class. 'Pillows of joy' they truly are, made from a recipe that has only a few simple ingredients but has been lovingly developed from his 13 years as Head Baker and Pastry Chef at St John's Bakery (a foodie institution, that also dispenses insanely good doughnuts) and obsessive quest for the perfect doughnut ever since.
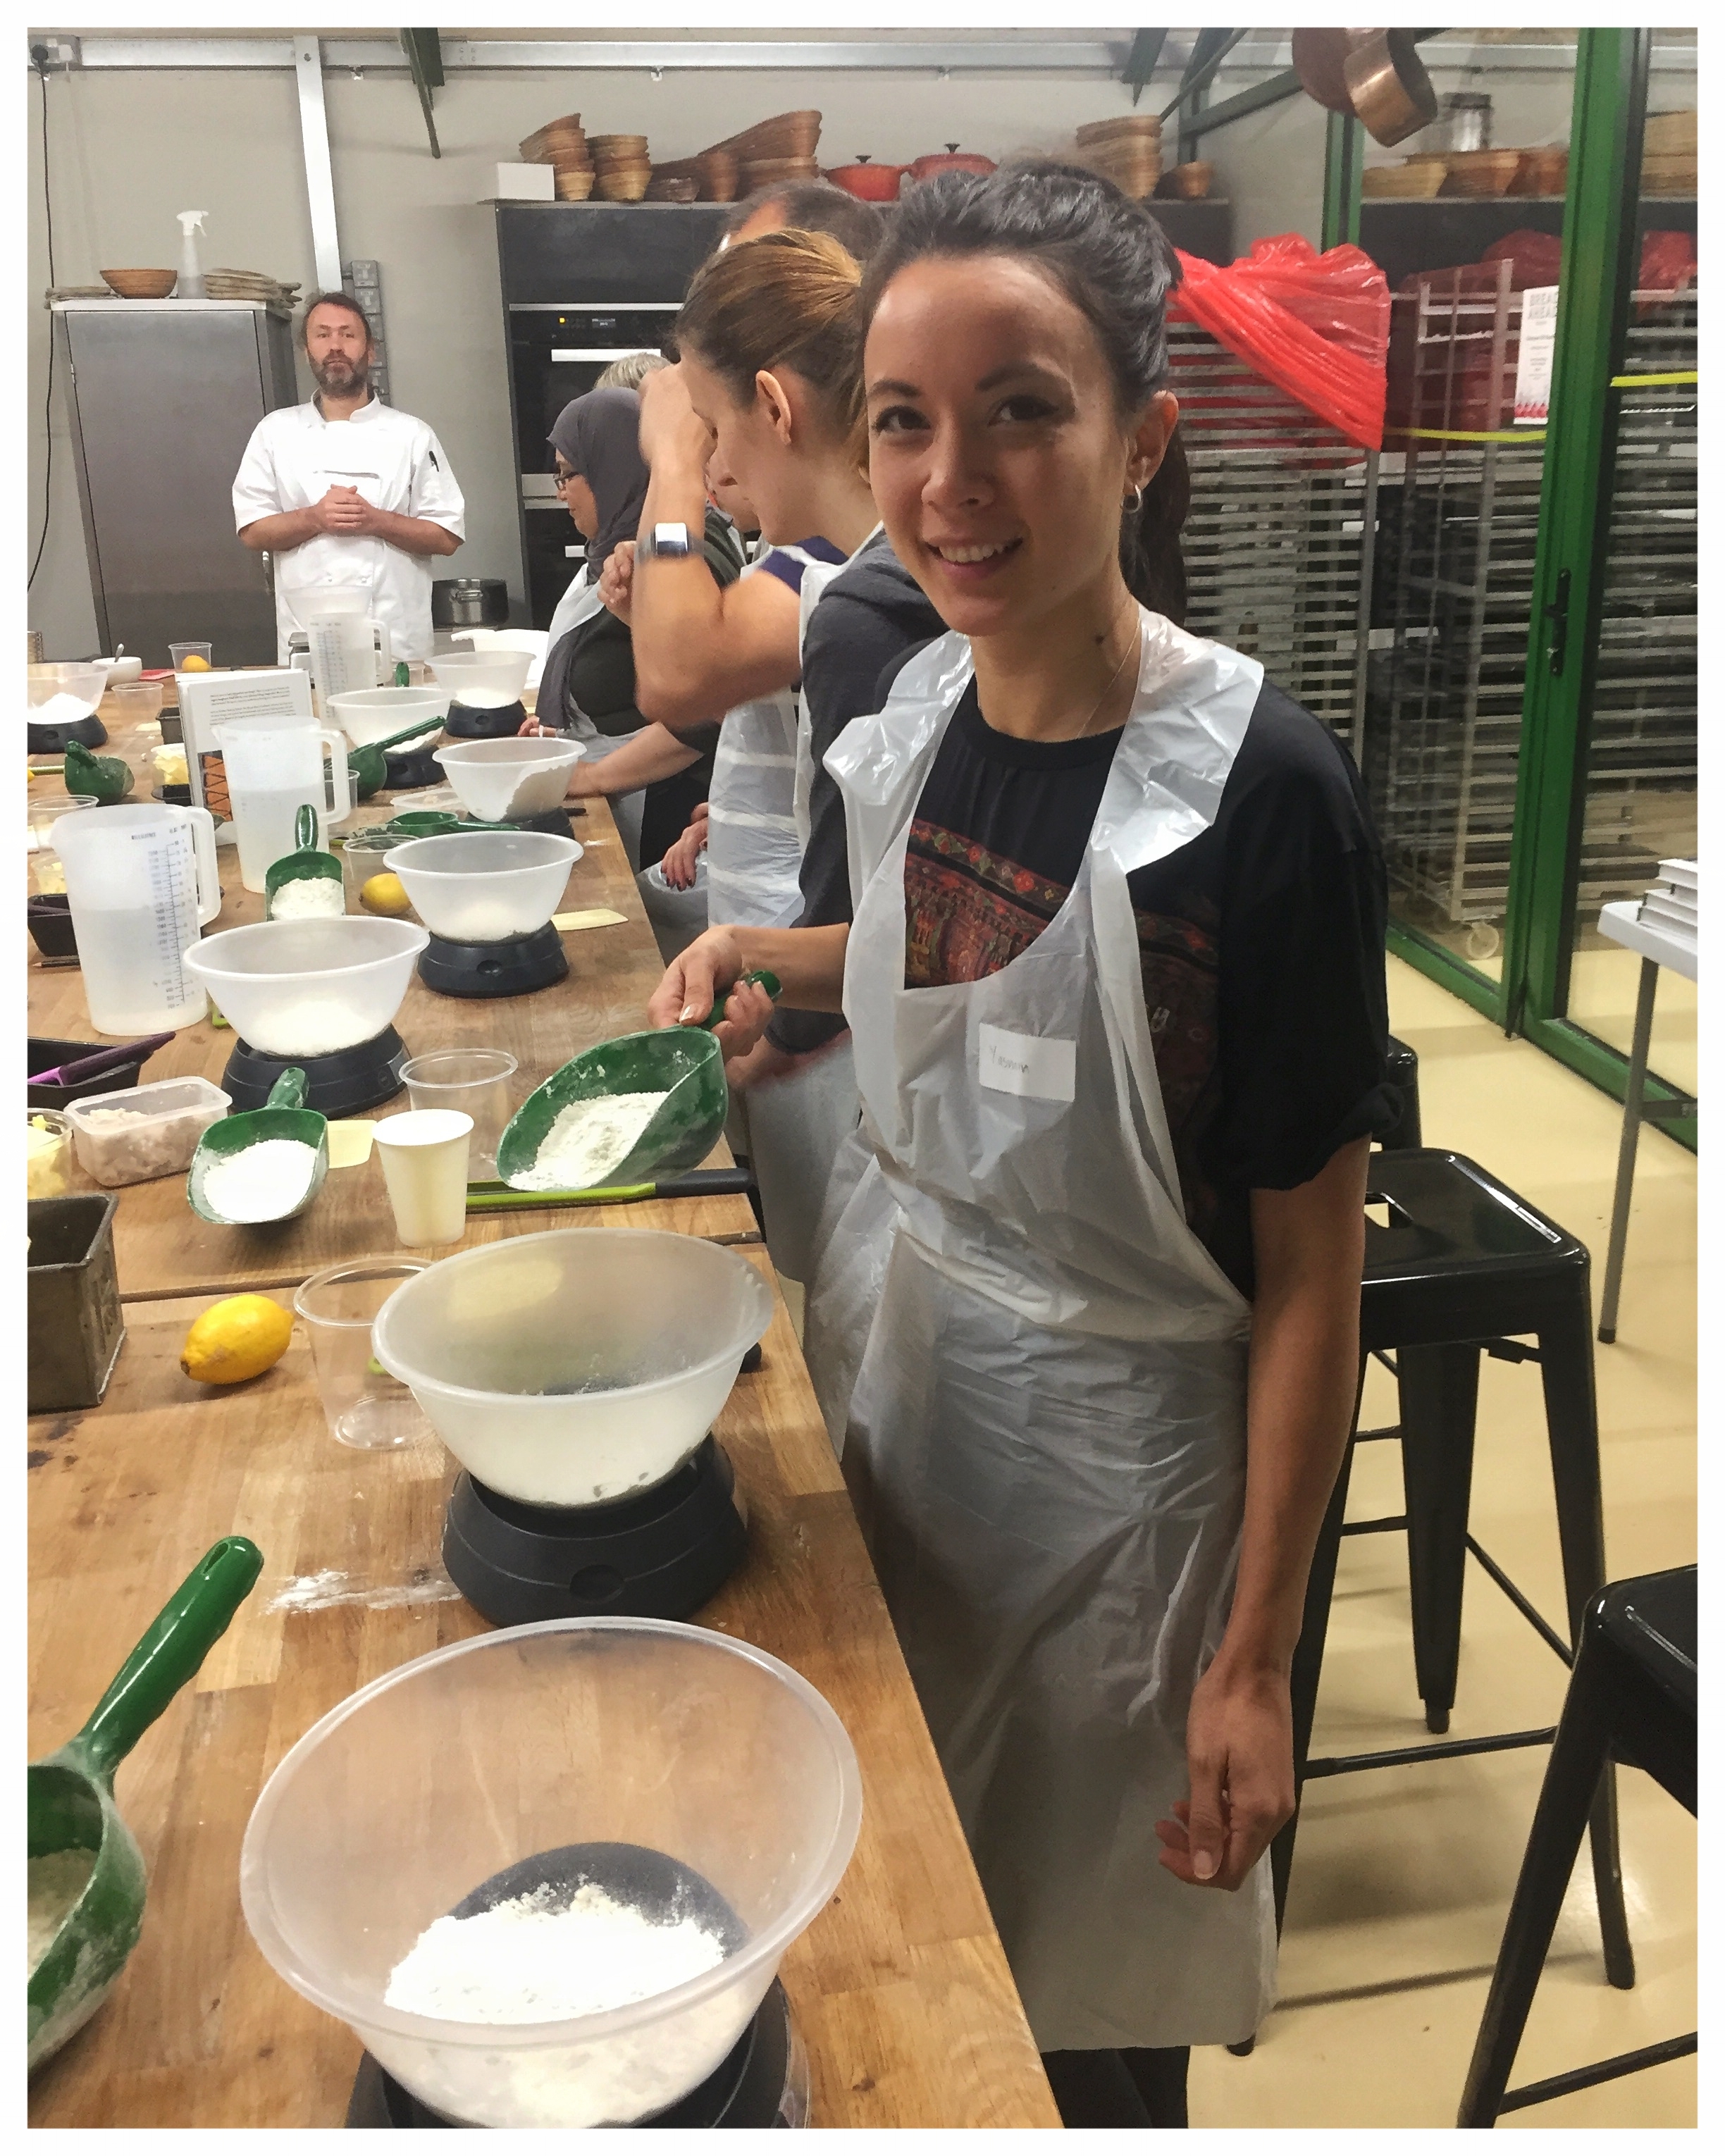
The class is fun, with everyone in a cheerful mood despite the cold, and how could you be anything but when Justin is so clearly in his element and in love with his craft. We are welcomed by an assortment of recognisable ingredients laid out on the workbench: Flour, water, sugar, salt, (not to be confused with each other we are sternly reminded), eggs, butter, not so familiar yeast and the magic ingredient lemon zest. Opening the class with a Blue Peter moment of 'and here's some I made earlier', it is explained that since the dough requires proving and overnight chilling, this will be used to make the doughnuts that will be fried and eaten today. We will, however, be making our own dough as well, which we are assured will be just as delicious.
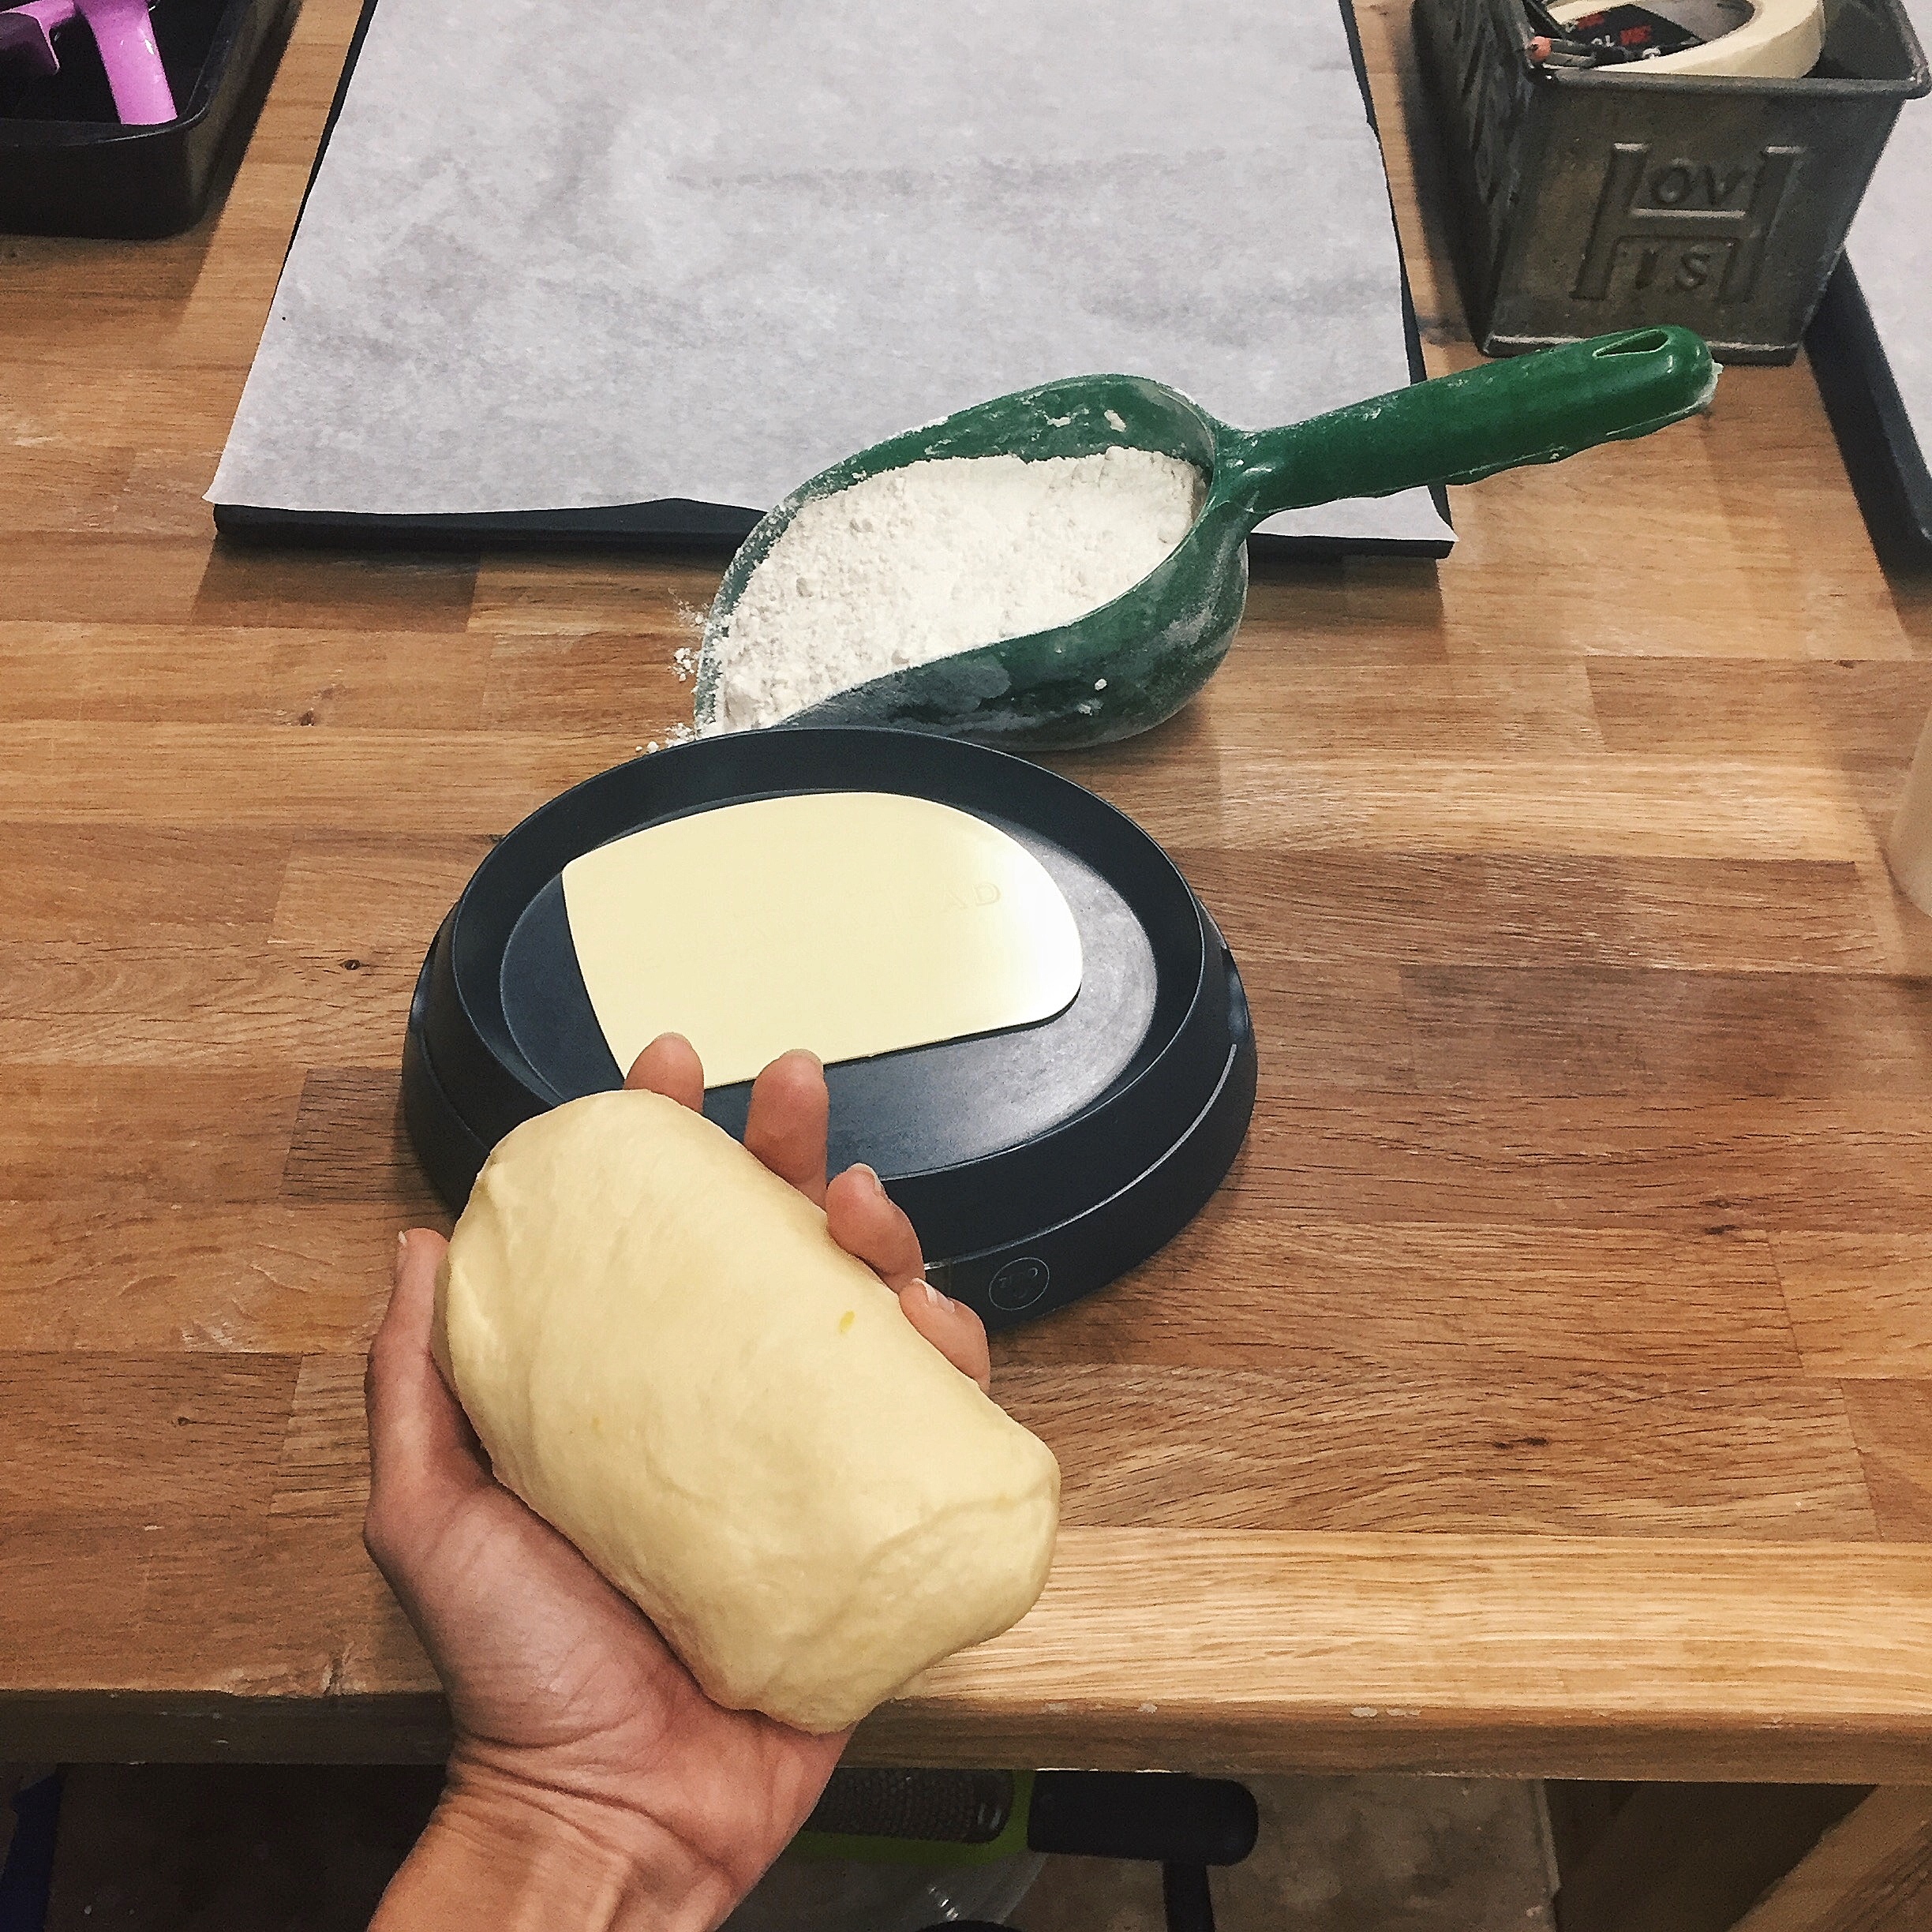
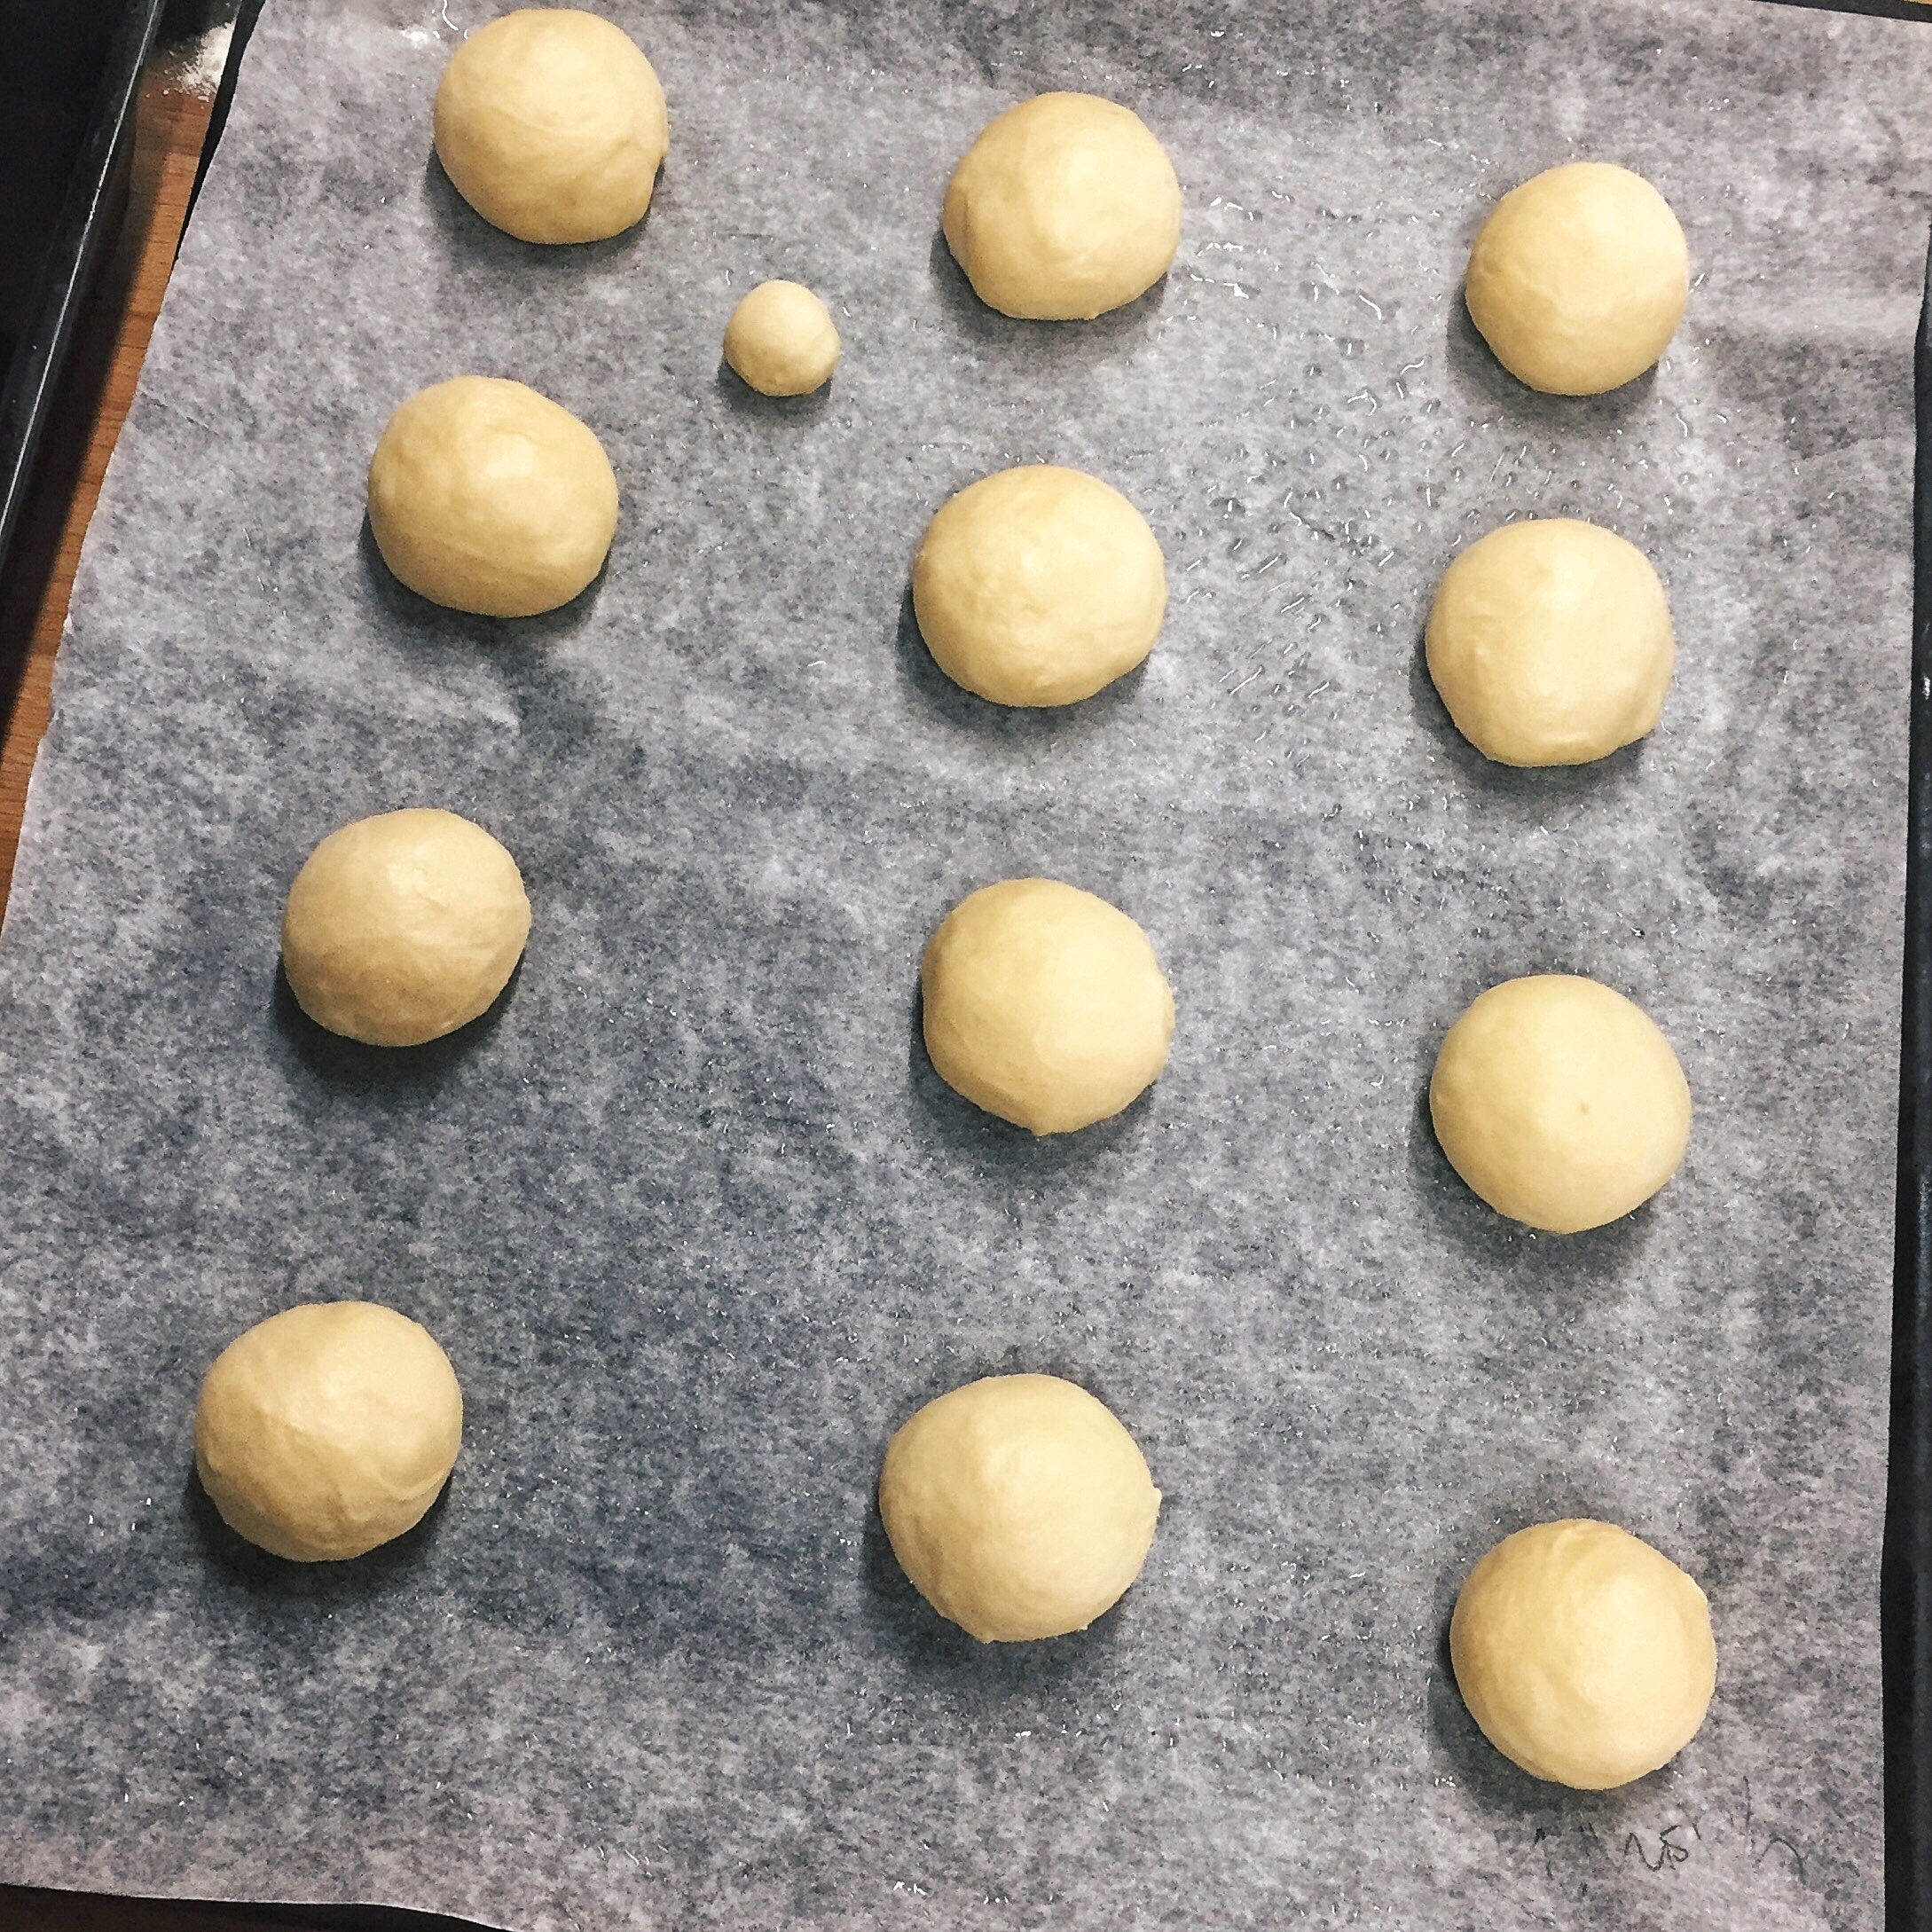
So we get stuck in, with a second cup of caffeine plus a sample of the Bread Ahead brownies, rolling up our sleeves and separating the pre-prepared lump of dough into 6 similar-ish blobs. It transpires that while Justin, doughnut extraordinaire, can make the small, perfectly rounded, identically shaped, firm, but bouncy, balls of dough with both hands while instructing and describing the technique, us mere mortals need to concentrate much harder and take much longer. That said, once you nail the strange claw-like hand grip you can't go too wrong. And with a quality check before this step is complete, there is zero risk that you will be taking home any duds. (See if you can spot which two were re-done by Justin. I was quite proud of my efforts, but could still see the difference!)
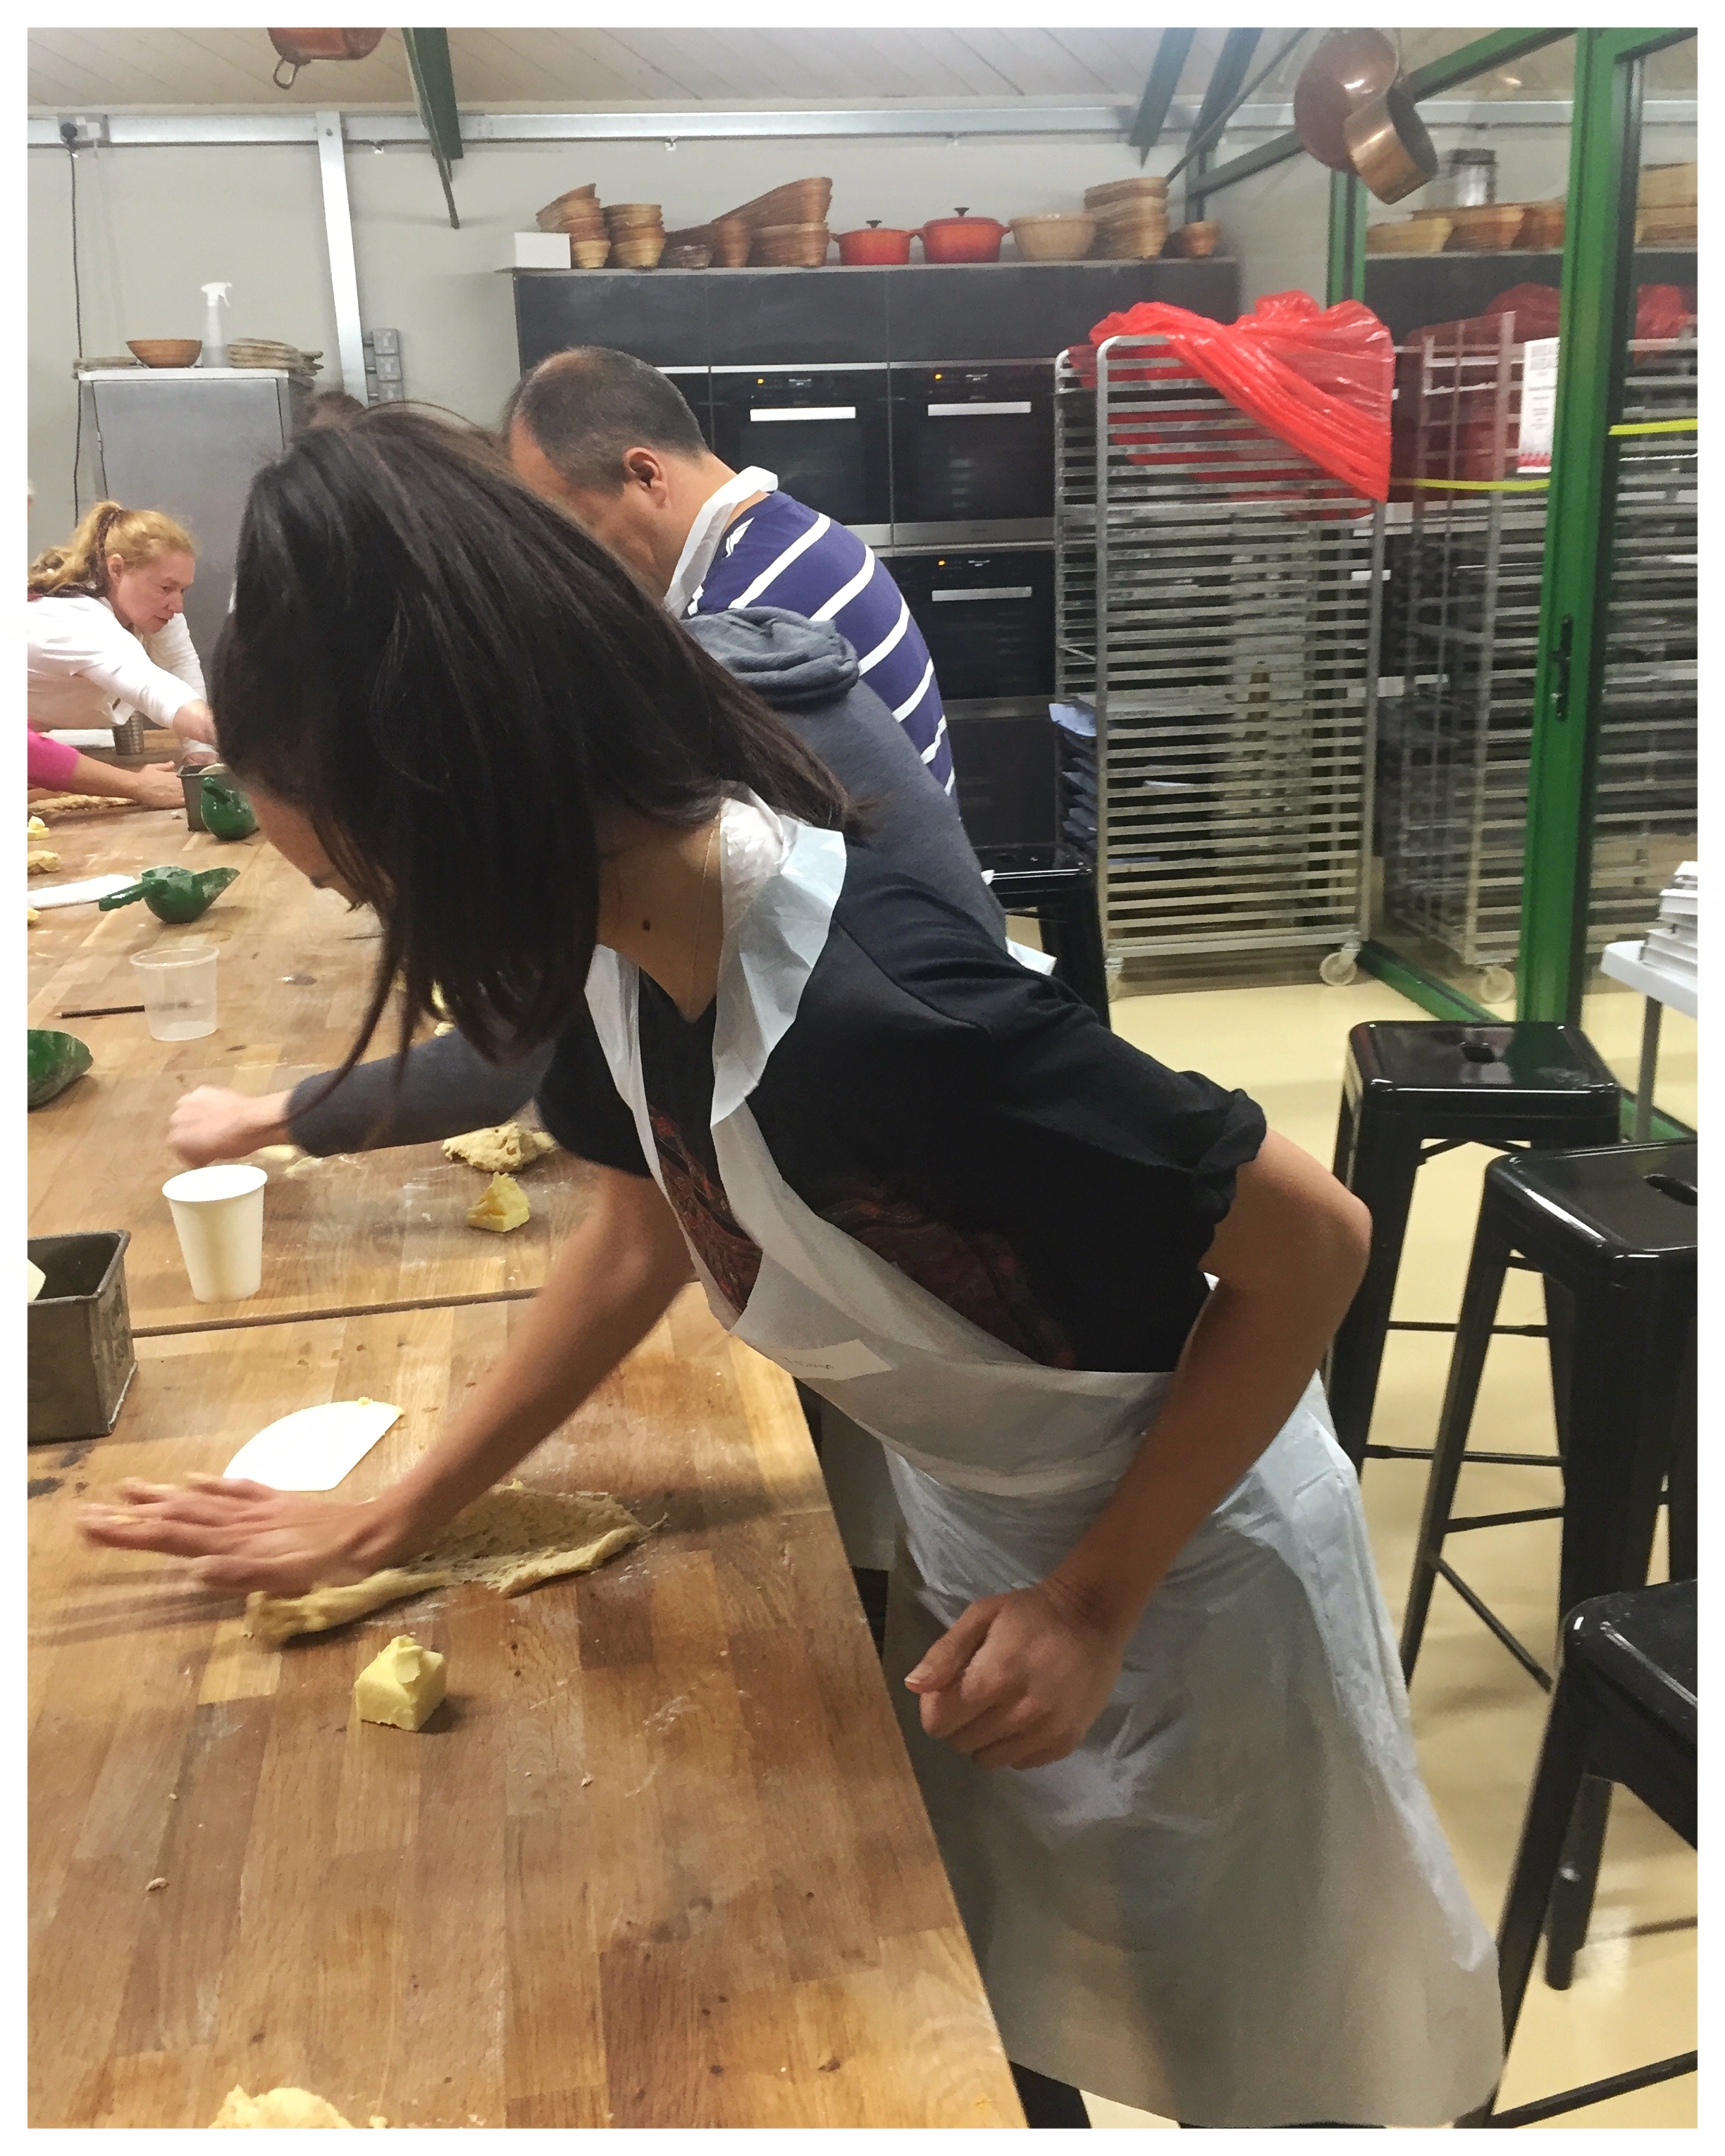
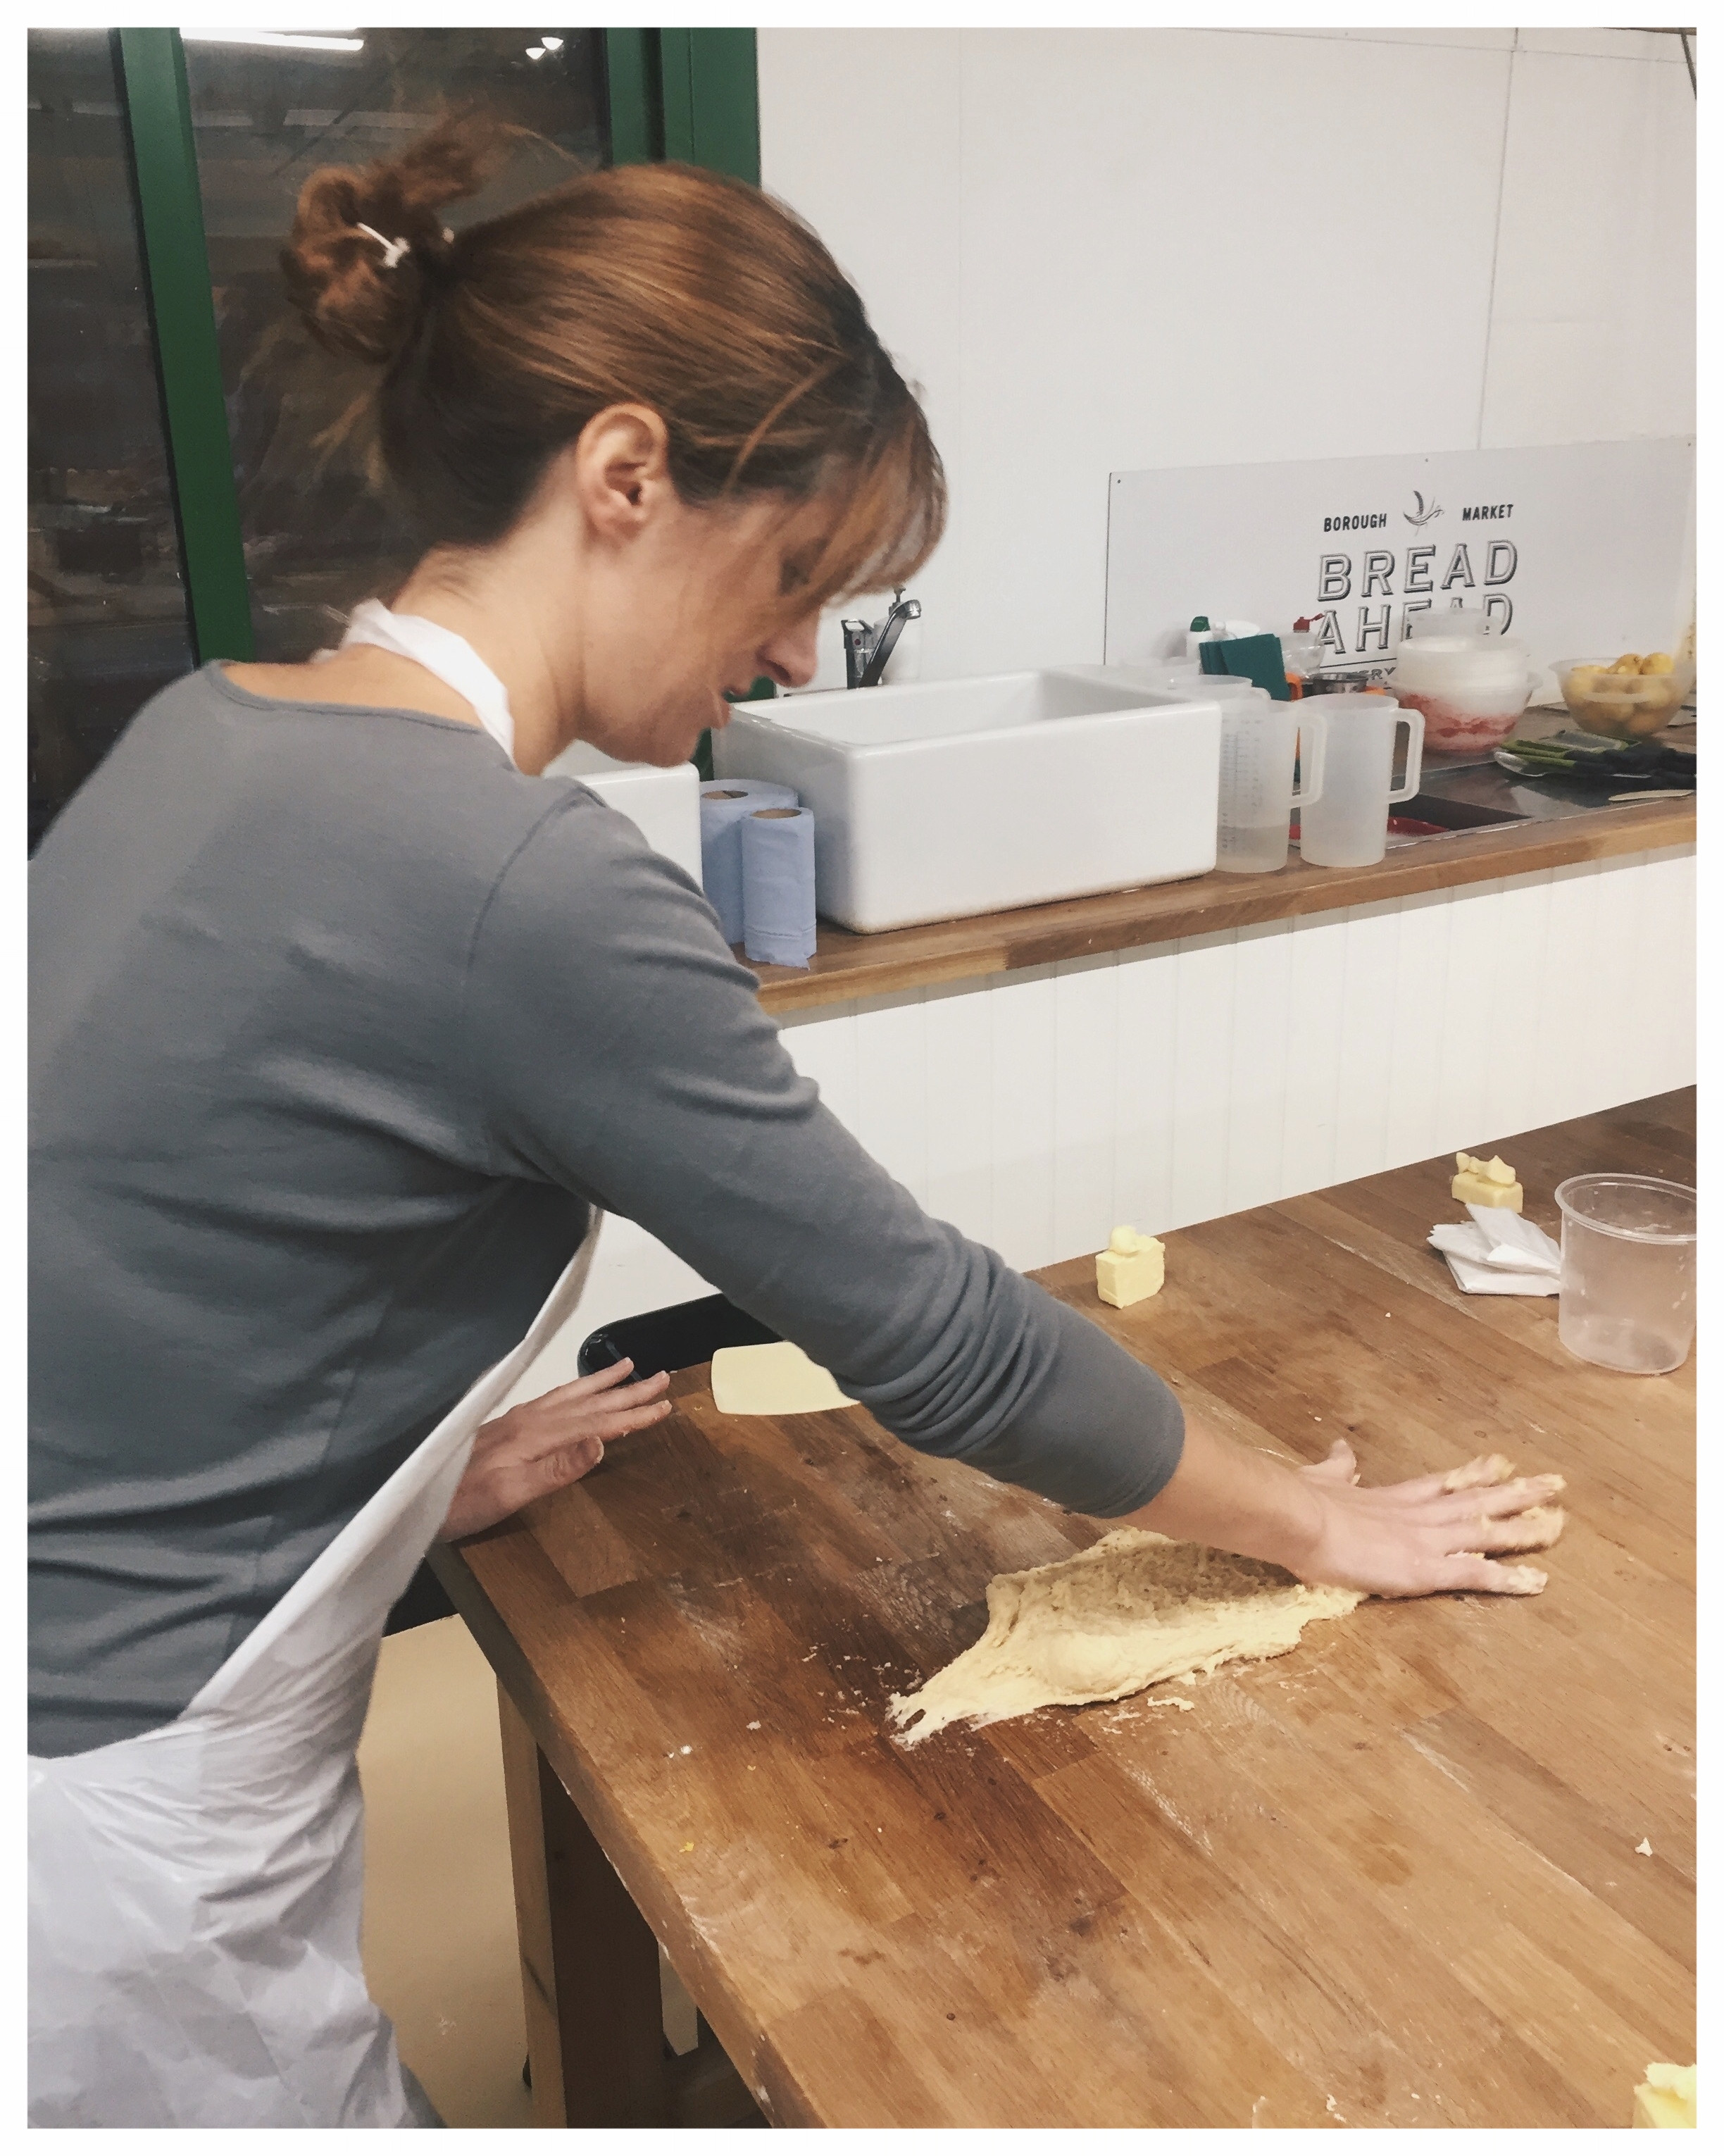
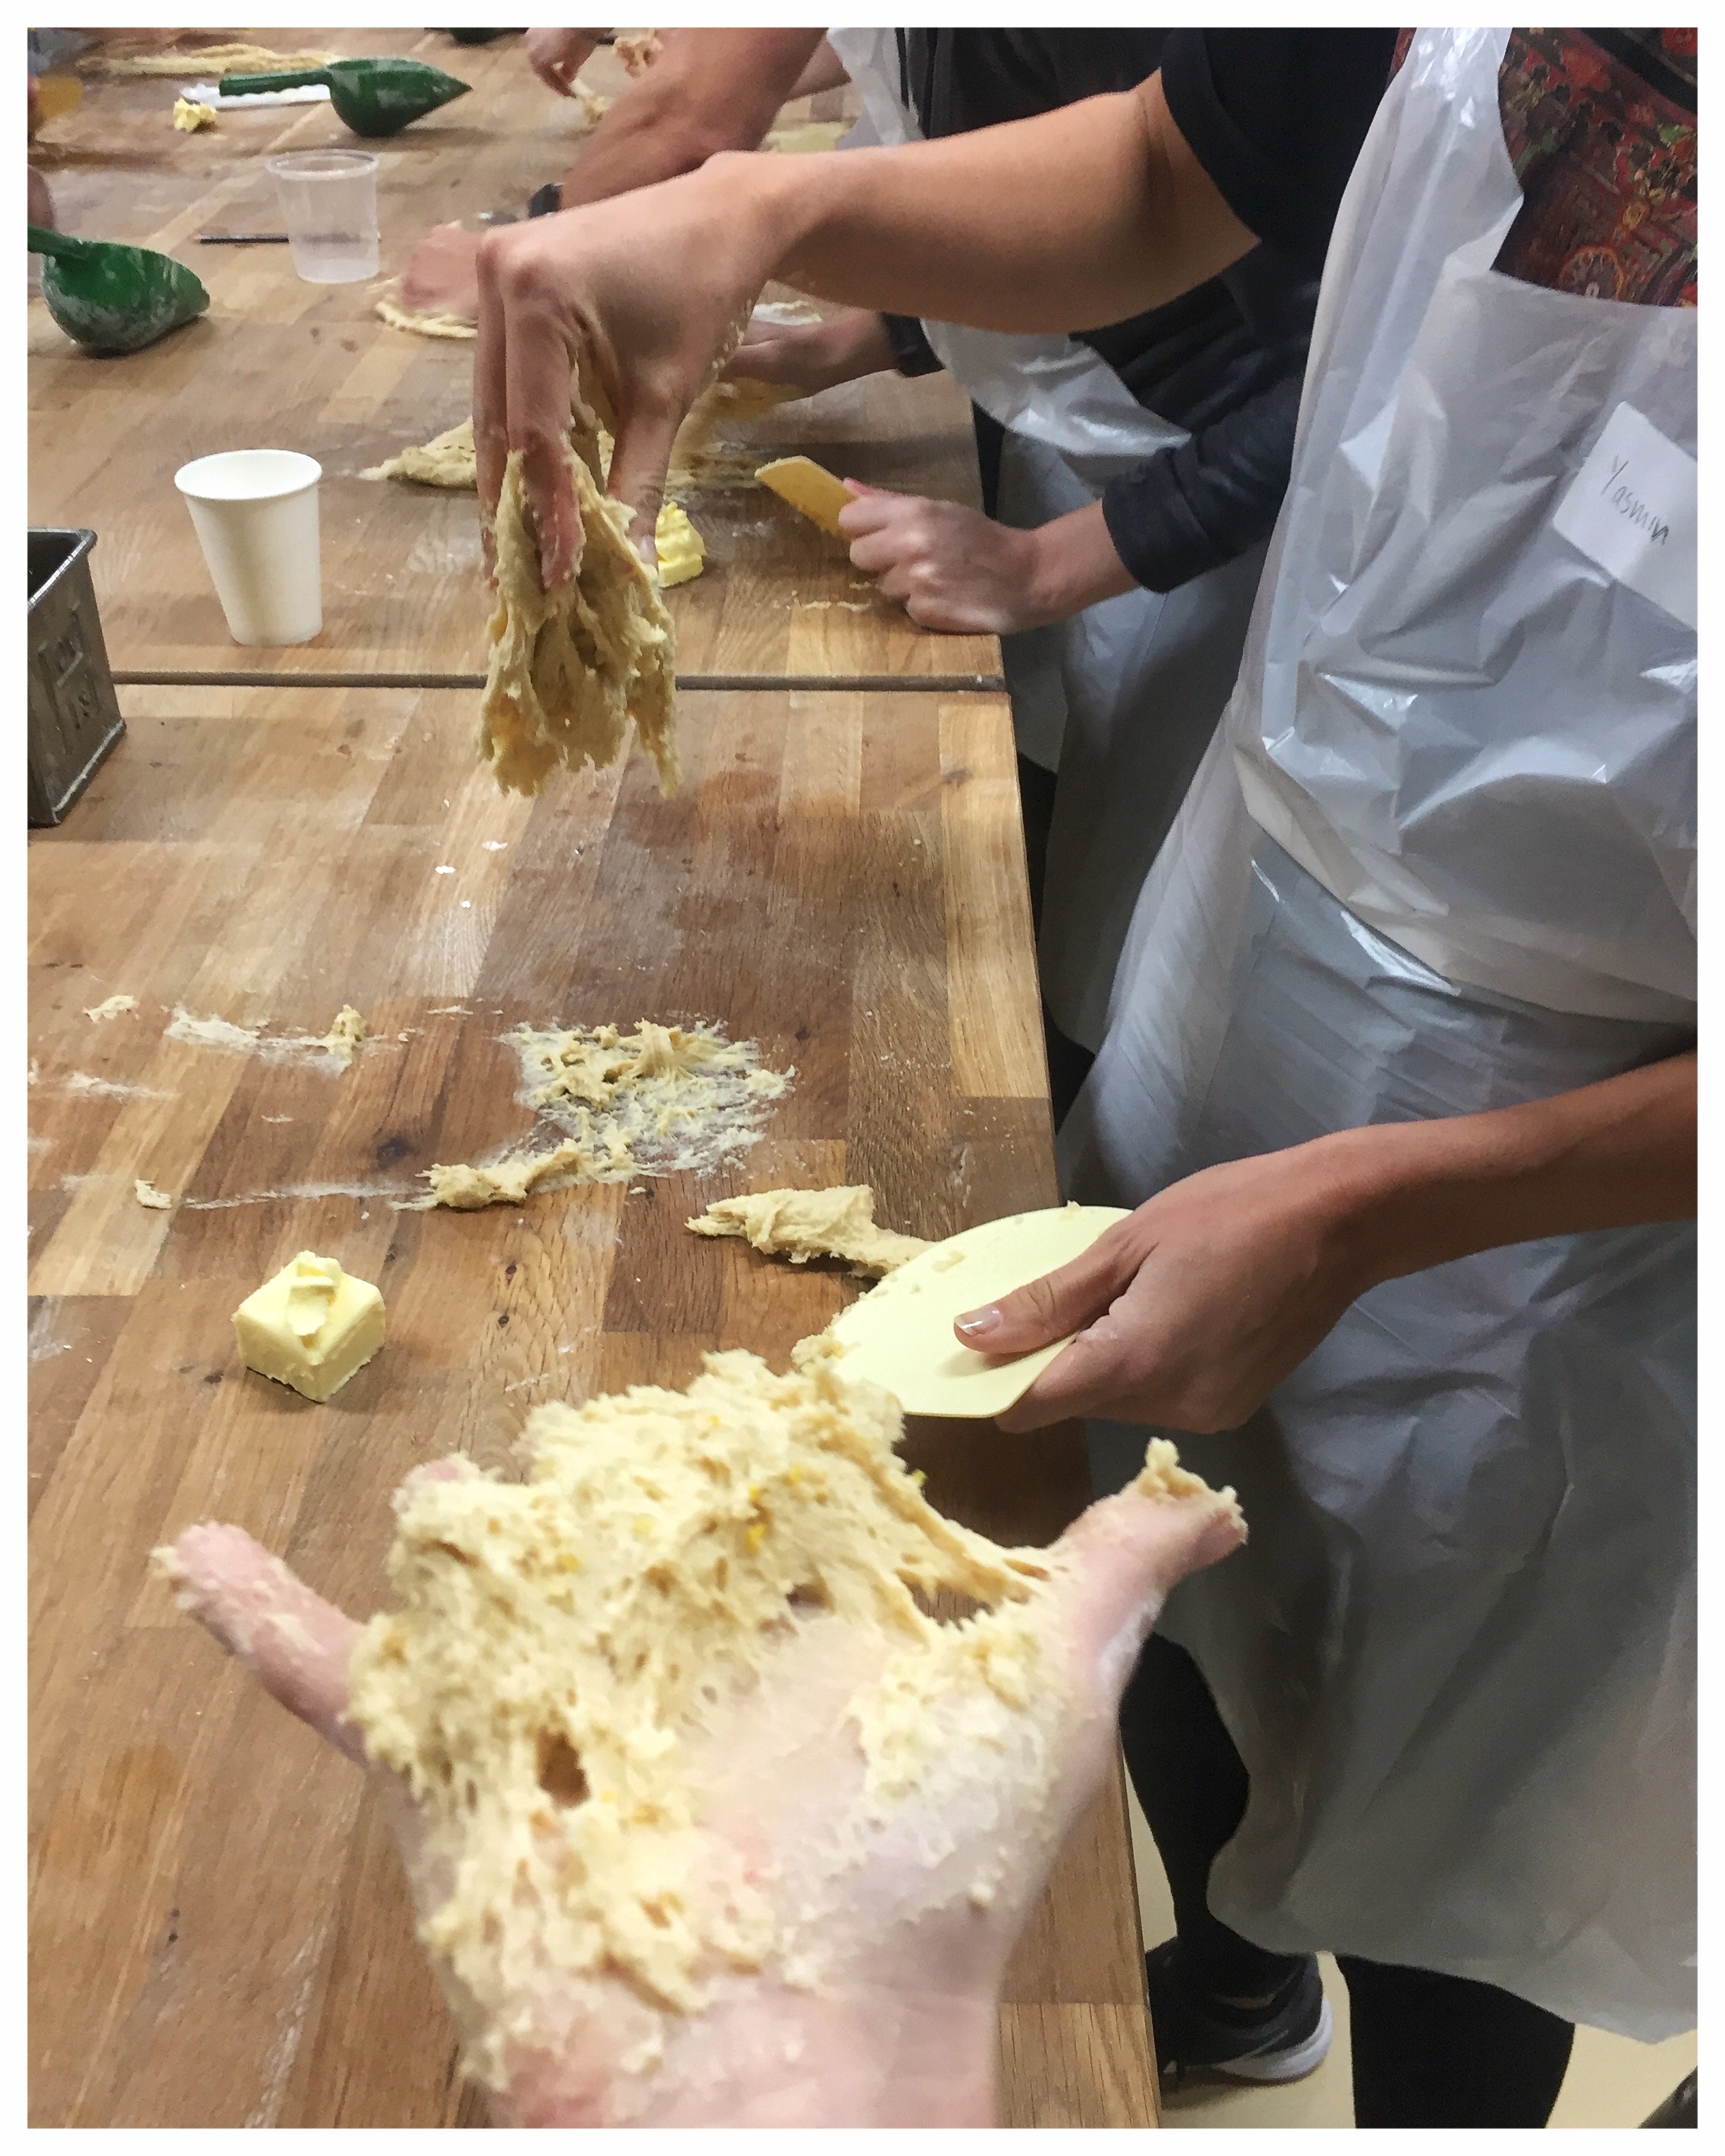
These 'pillows of joy' are left to prove for the 45 minutes or so that it takes for them to approximately double in size. This time isn't waiting time, but instead used to mix up our second batch that we will make from scratch. And this is when the class gets a little sticky. Mixing all the carefully measured ingredients together, the stretch and tear technique is demonstrated, which we must master to slowly incorporate the butter and get the gluten working. Done skillfully, this will create the wonderful light and fluffy crumb texture of a Bread Ahead doughnut. The technique is also important in the task of trying to keep the majority of the dough together and on the workbench, rather than stuck to our hands - no easy feat. I end up in a fit of giggles, completely unable to get my mixture to behave itself and Meredith has to step in to save the my creative mess. Once the dough is more elastic than sticky, we are done, and plonk it into a plastic container that will accompany us home.
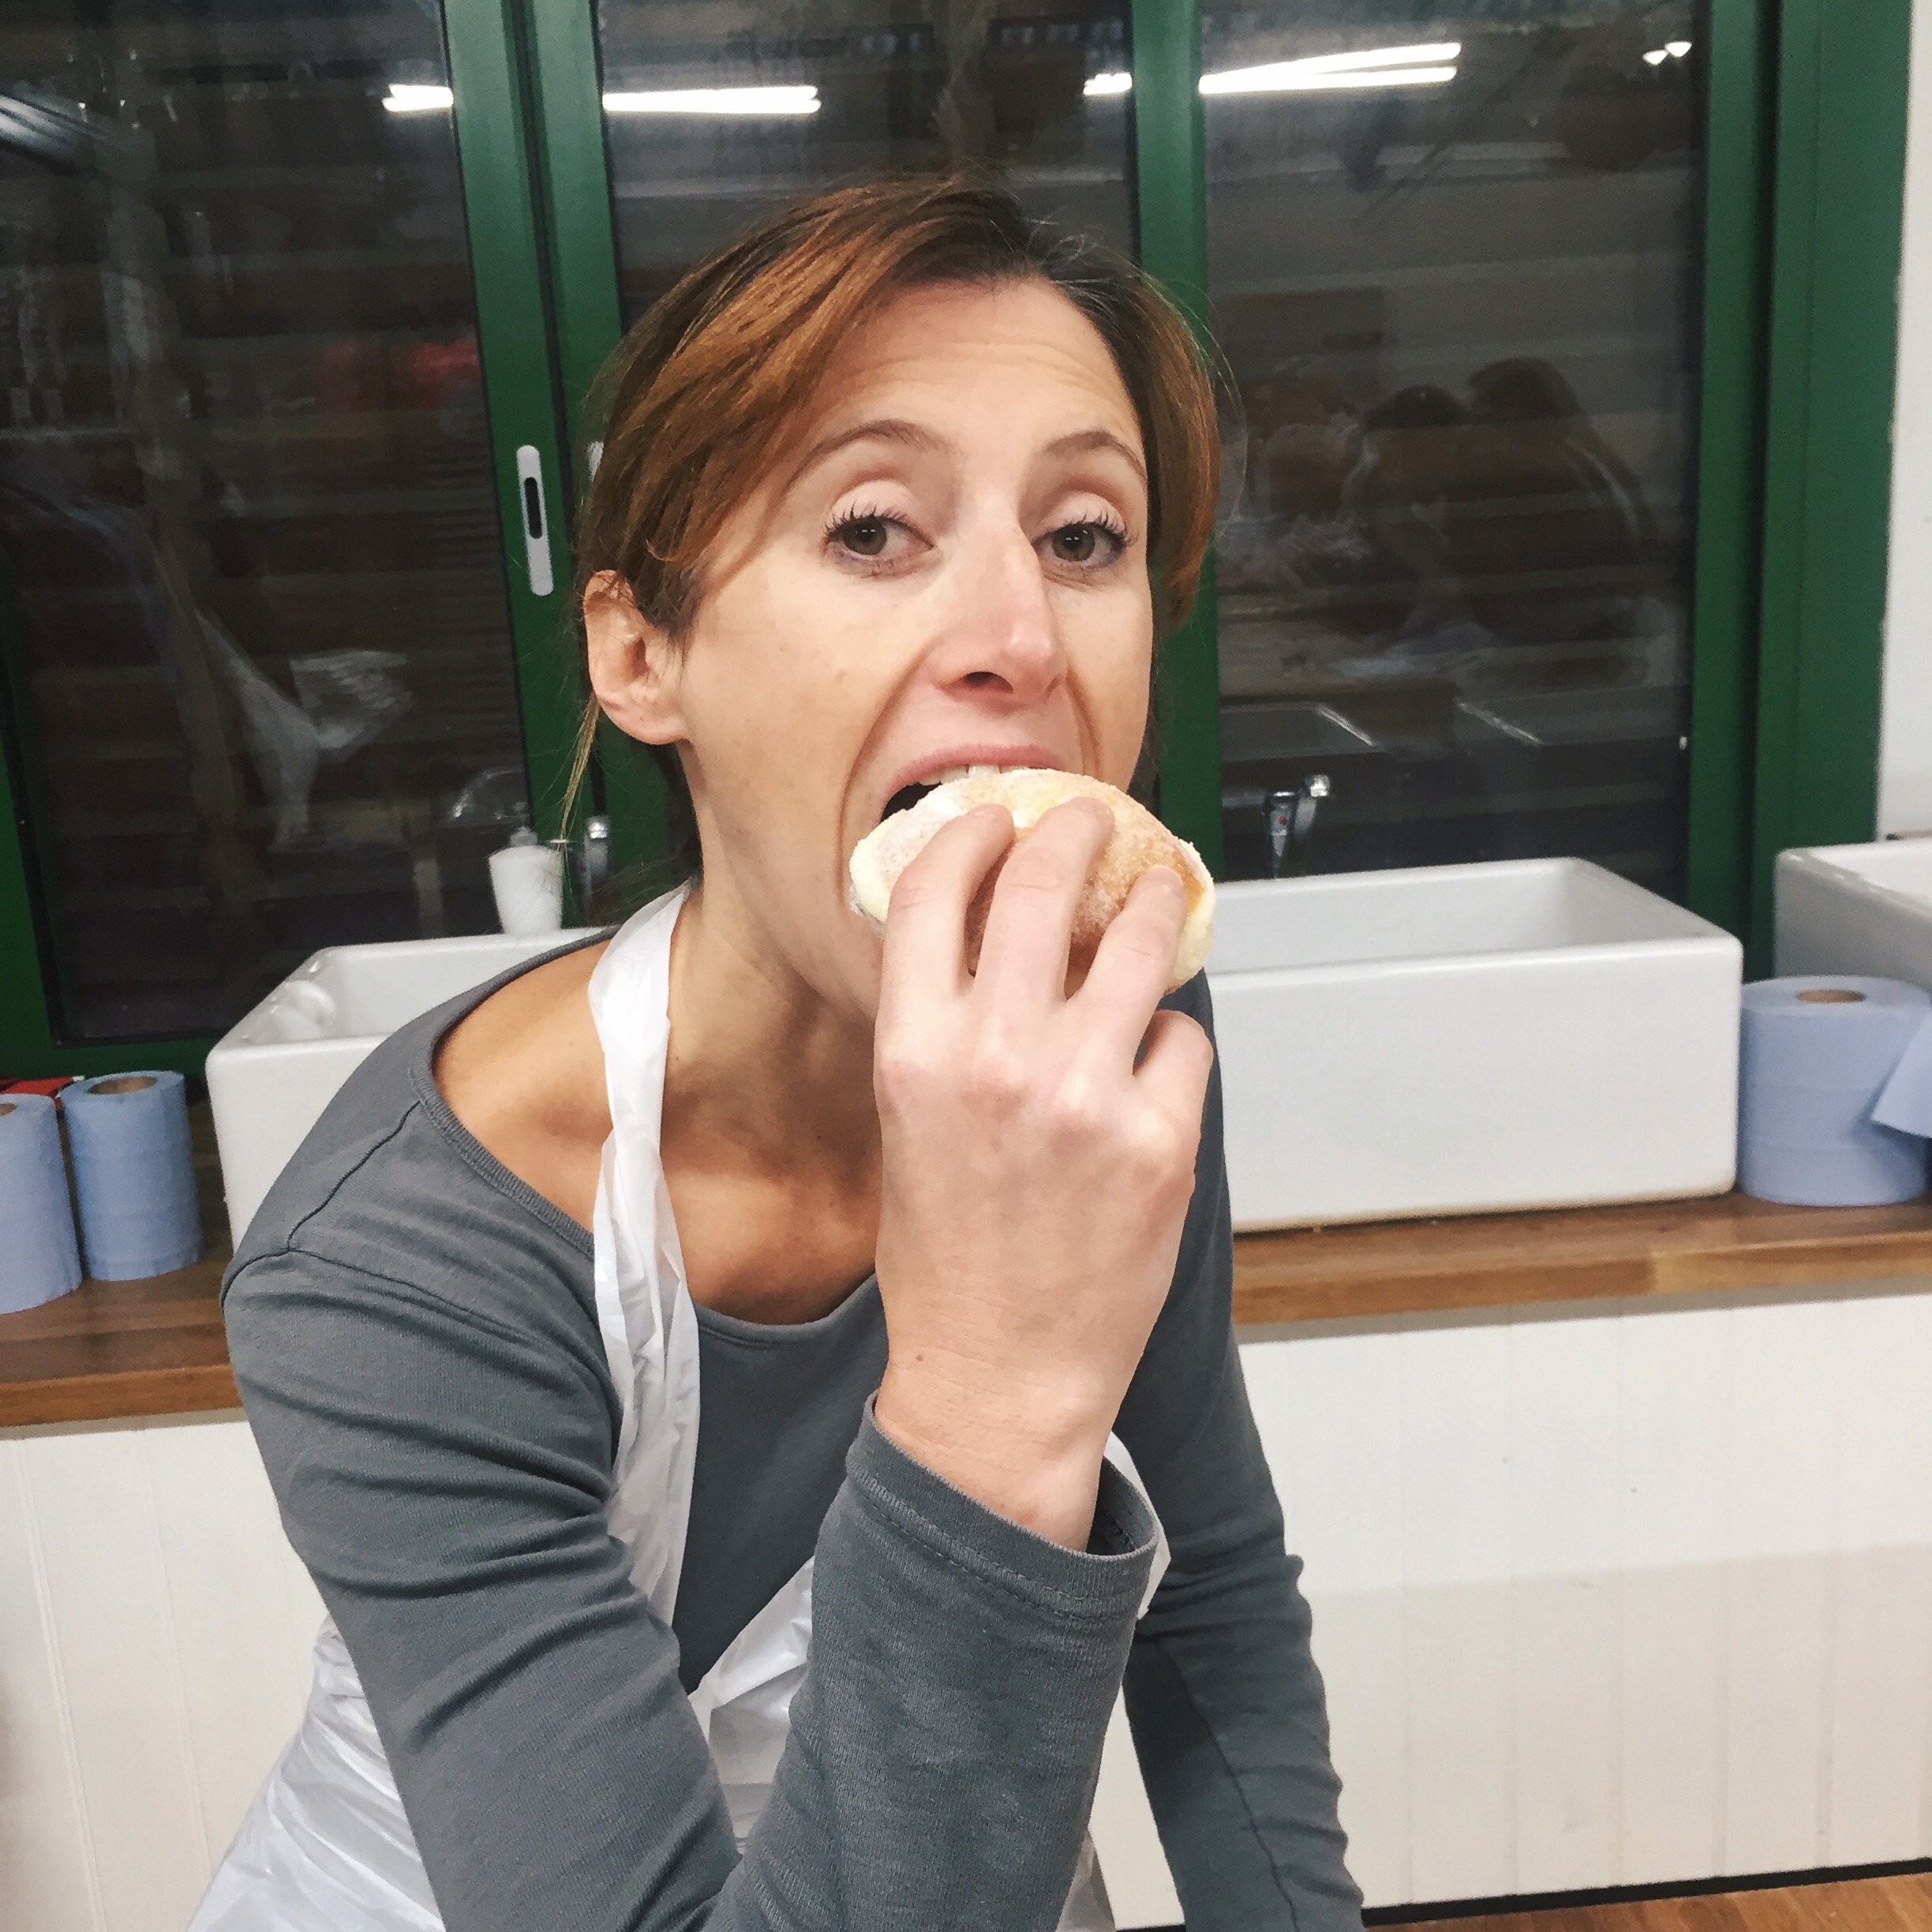
It was after this that the fun factor cranked up another notch. Since we needed to understand the frying technique, Justin had to make a batch of doughnuts. Which meant we had to eat a doughnut each. The process of cooking itself is speedy and to an observer seems simple: Precisely 2 minutes on each side in the 180°C hot oil, using the extremely technical implement of a metal dessert spoon to flip them over. Scoop the doughnuts out of the hot oil, being careful not to thump the air out. Then literally throw into a giant bowl of caster sugar and toss around until completely smothered in white crystals. I don't quite know how to describe just how exquisite the moment of receiving a freshly baked doughnut was. Seconds out of the fryer, light to hold, with a faint aroma of lemon , the first warm bite made each and every one of us grin from ear to ear. The room was practically silent as we gobbled our gift away.
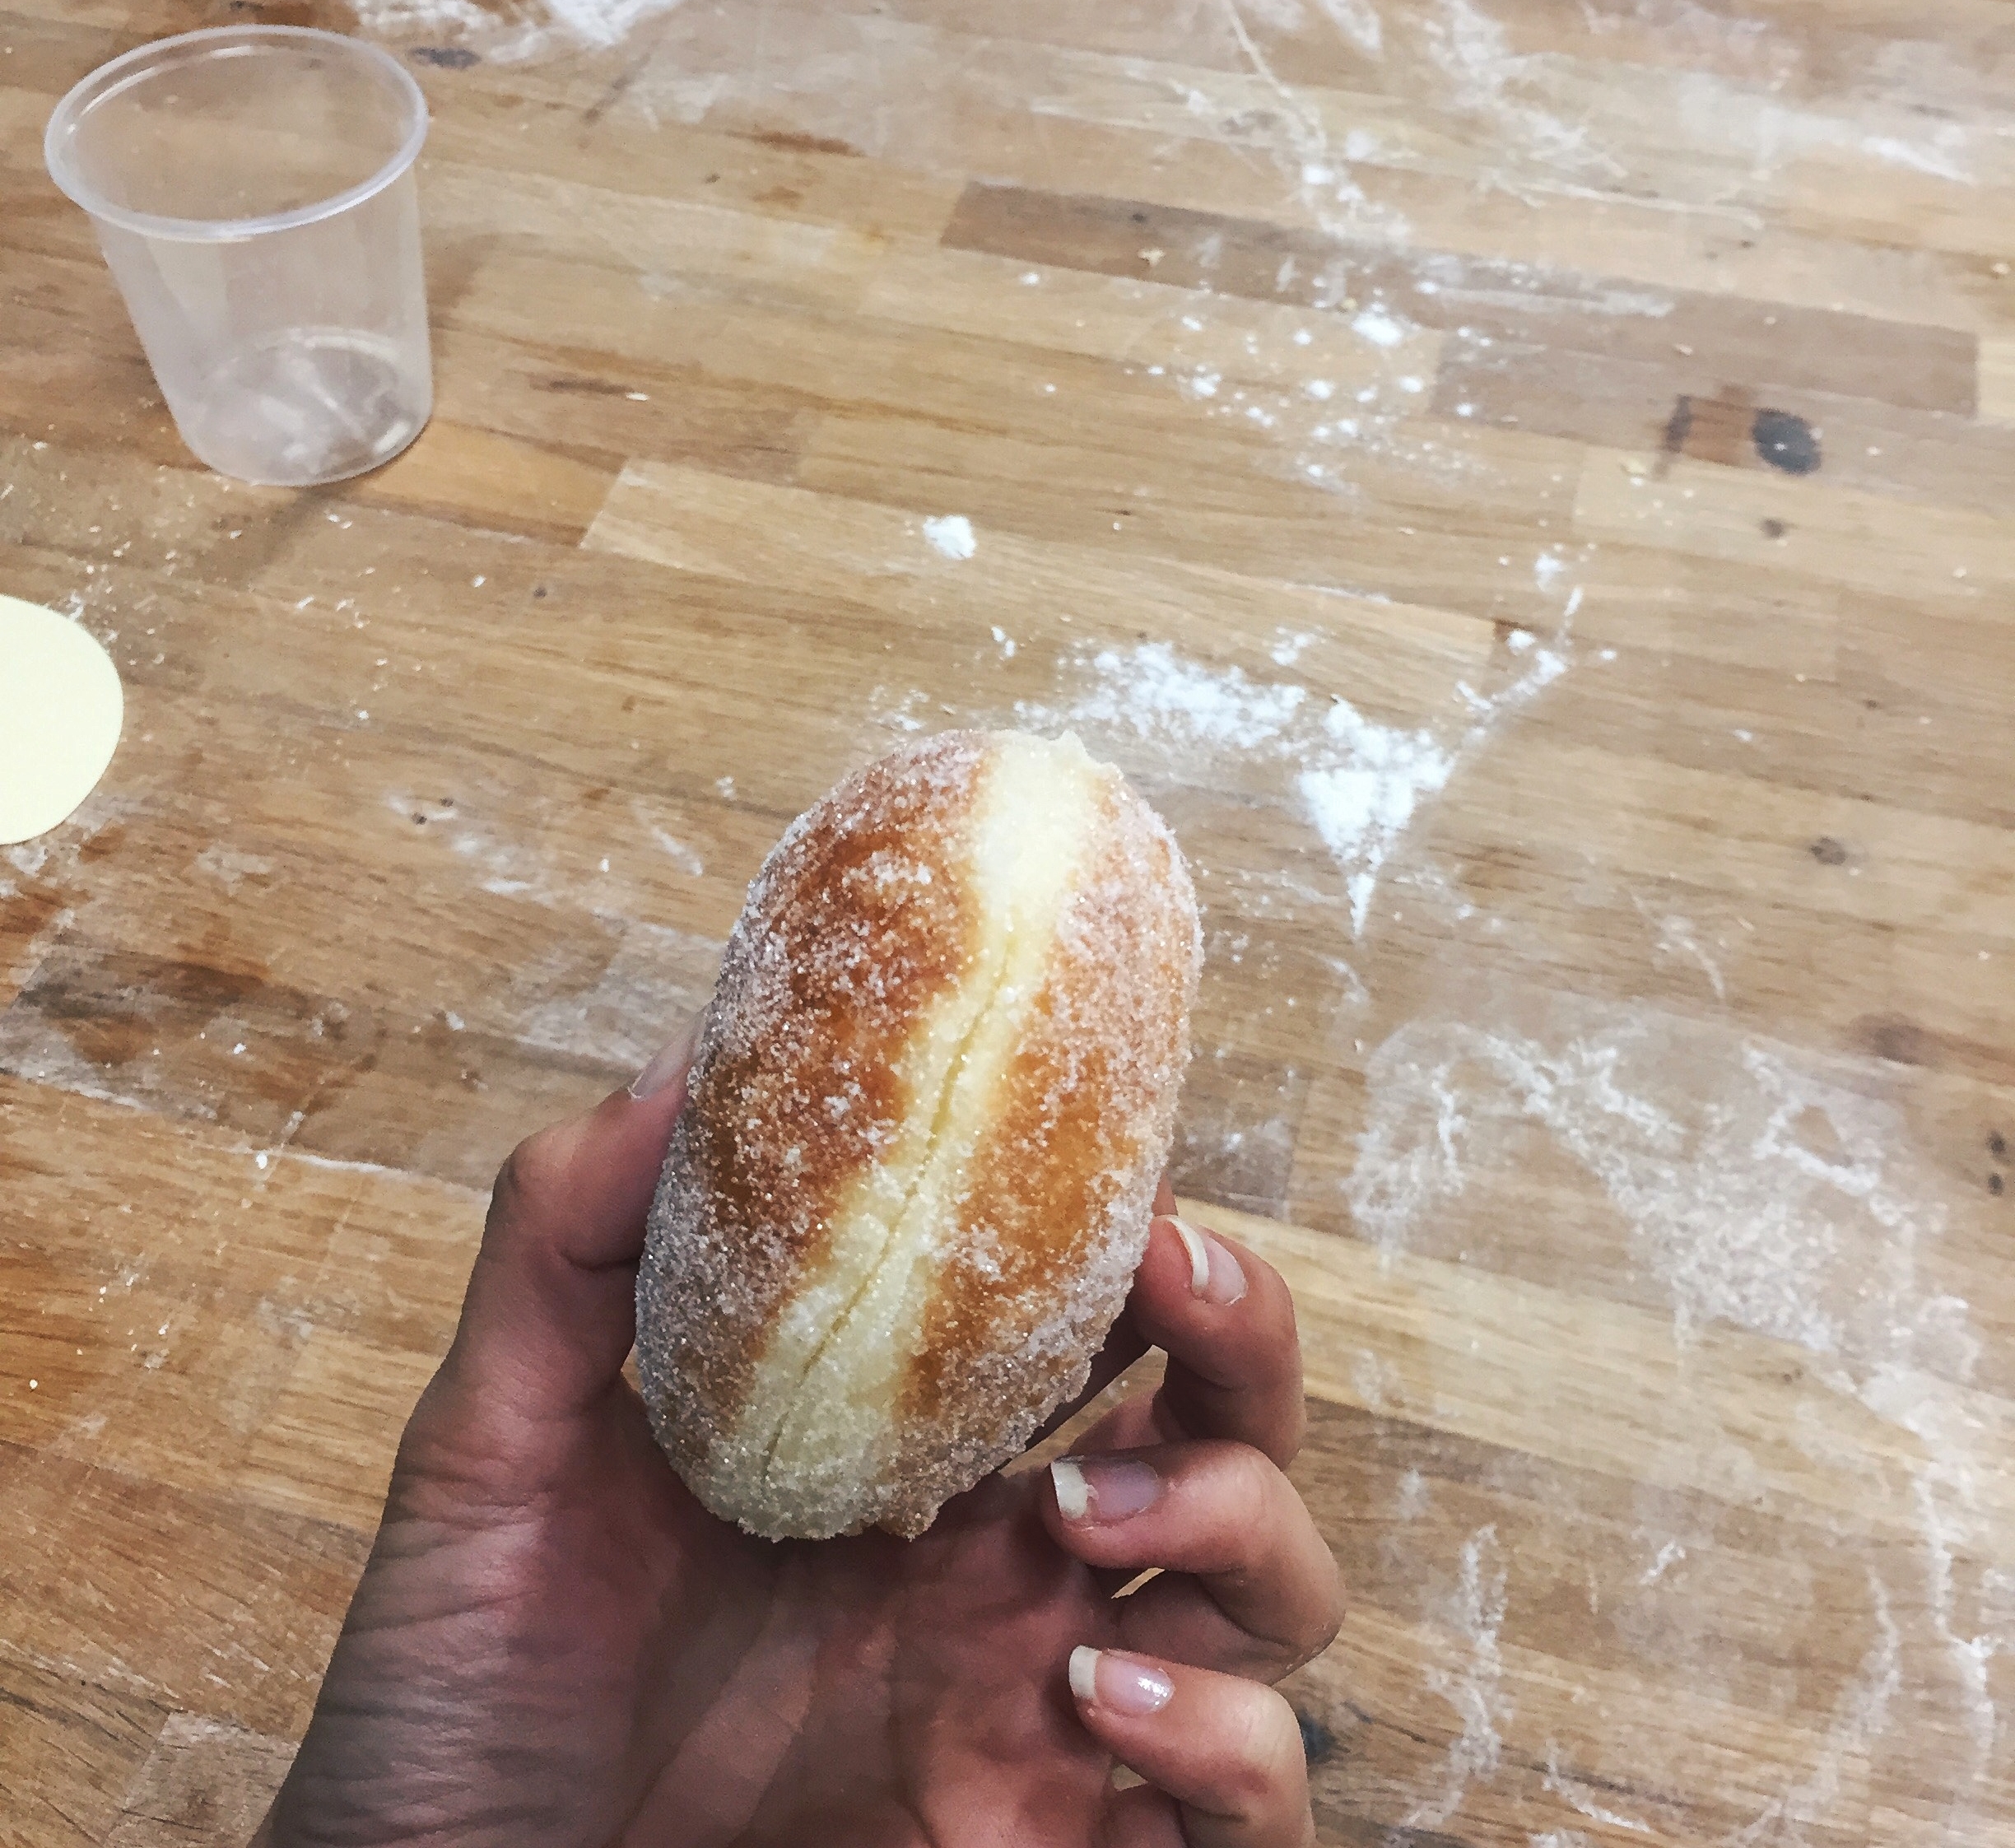
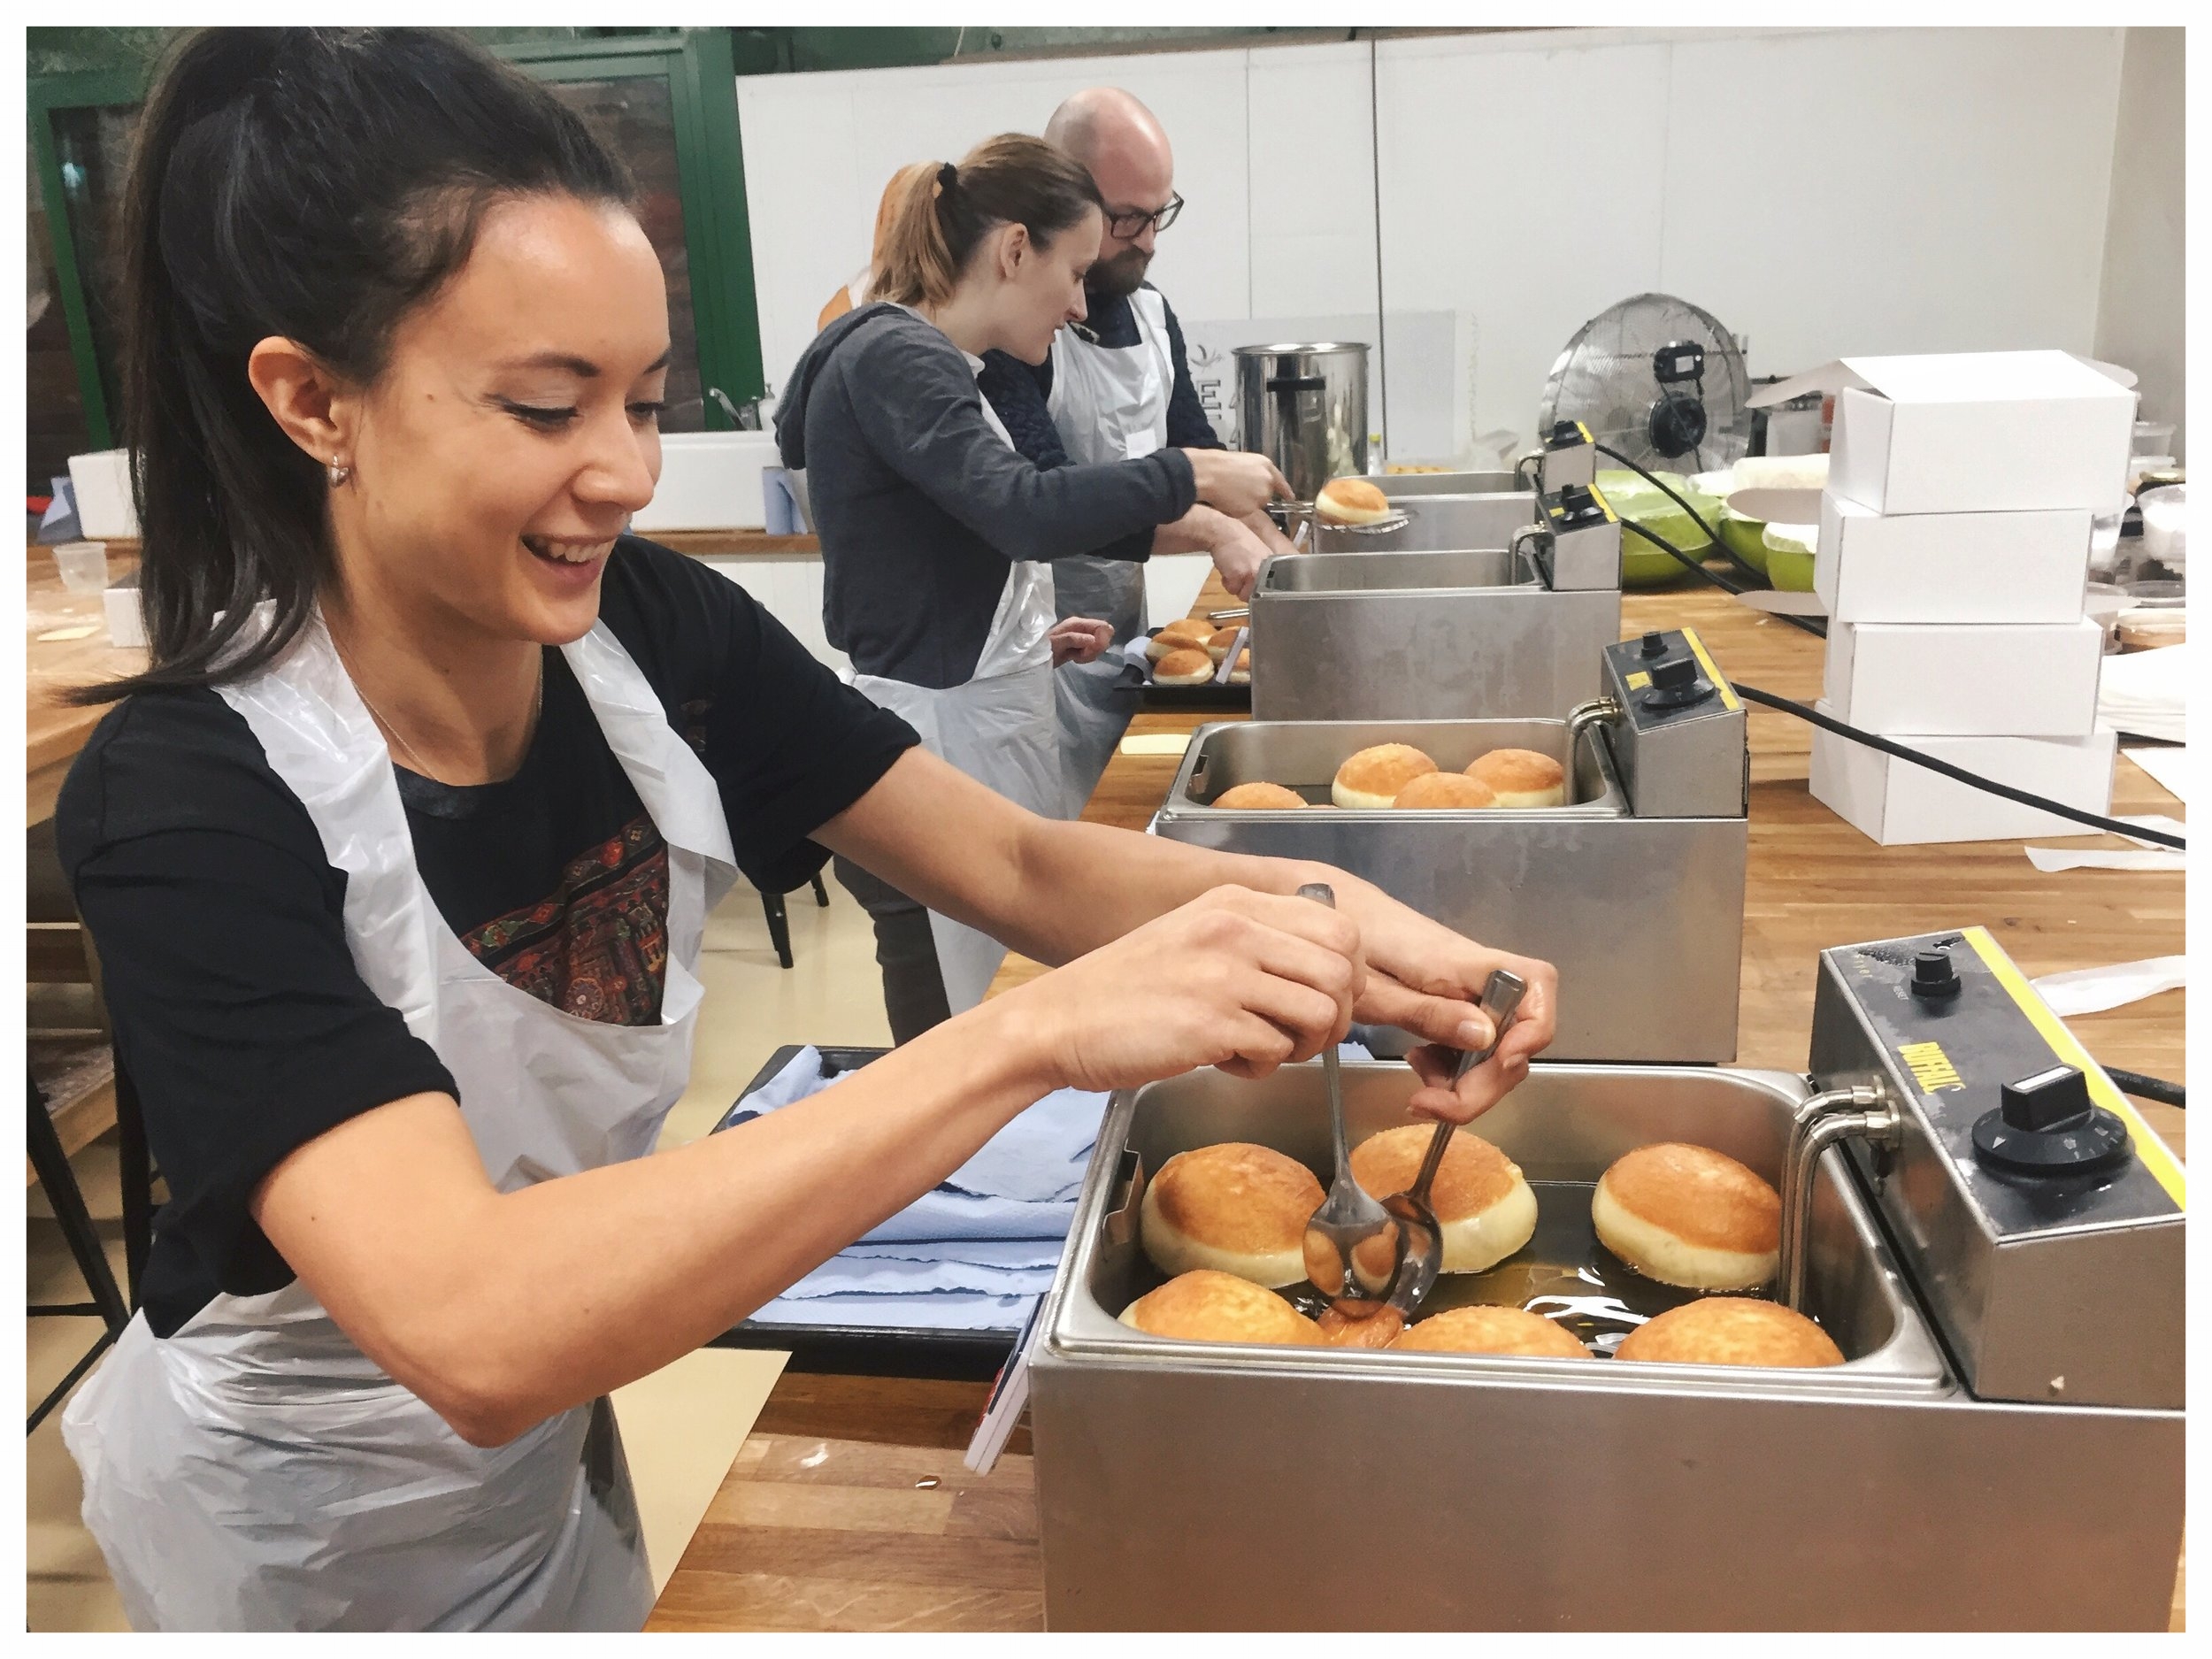

Our turn next. With slightly more trepidation, after all it is hot oil, we take the plunge. Given that we were in a fail safe classroom environment, we did succeed in creating a dozen , plus a miniature which kept misbehaving and flipping around in the oil. The only tricky bit is carefully picking up the proven dough and tipping it into the fryer, being swift but gentle and remembering to simultaneously set the timer. The points at which you can trip up at home are plentiful though: Oil too hot and you get raw on the inside, over cooked on the outside. Oil too cool and it seeps into the dough, creating a greasy mess. Too long in the fryer, well there isn't the beautiful golden colour but rather a deep mahogany crunch that tastes bitter and burnt. Not to mention if the doughnuts aren't left to rest but instead fretted over and poked around, they deflate losing the 'band of truth' found on the perfect specimen.
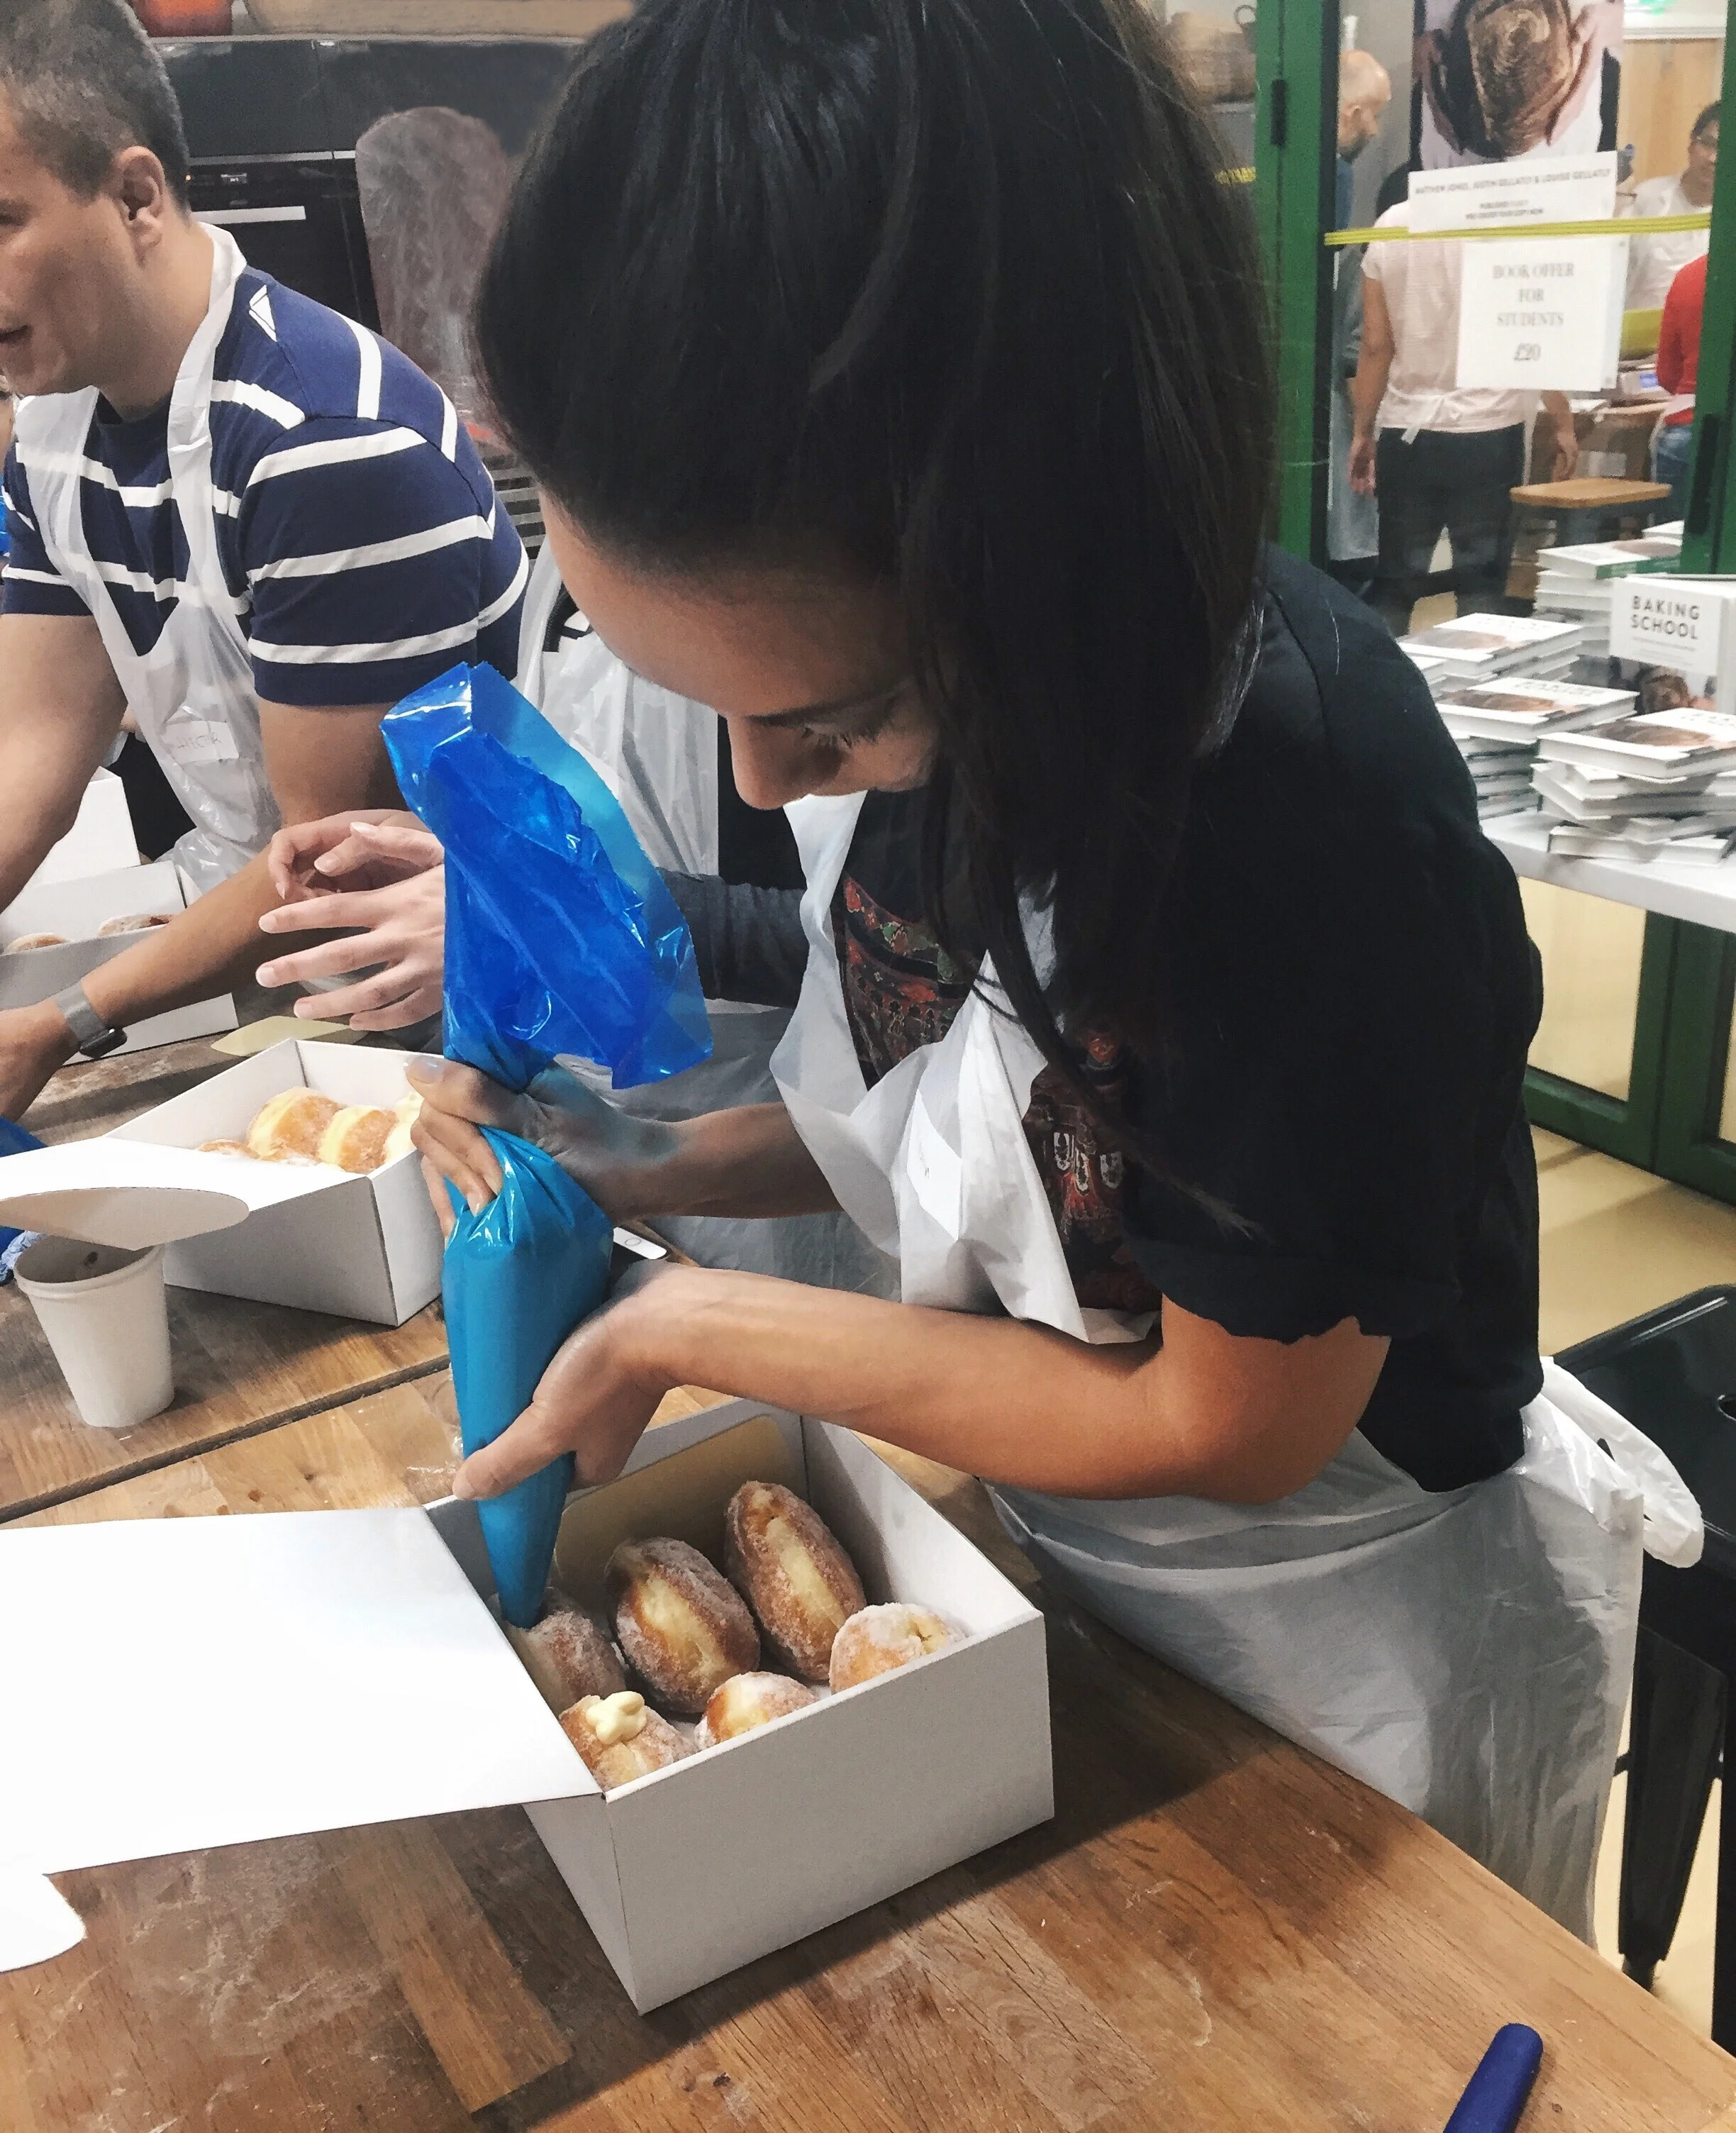
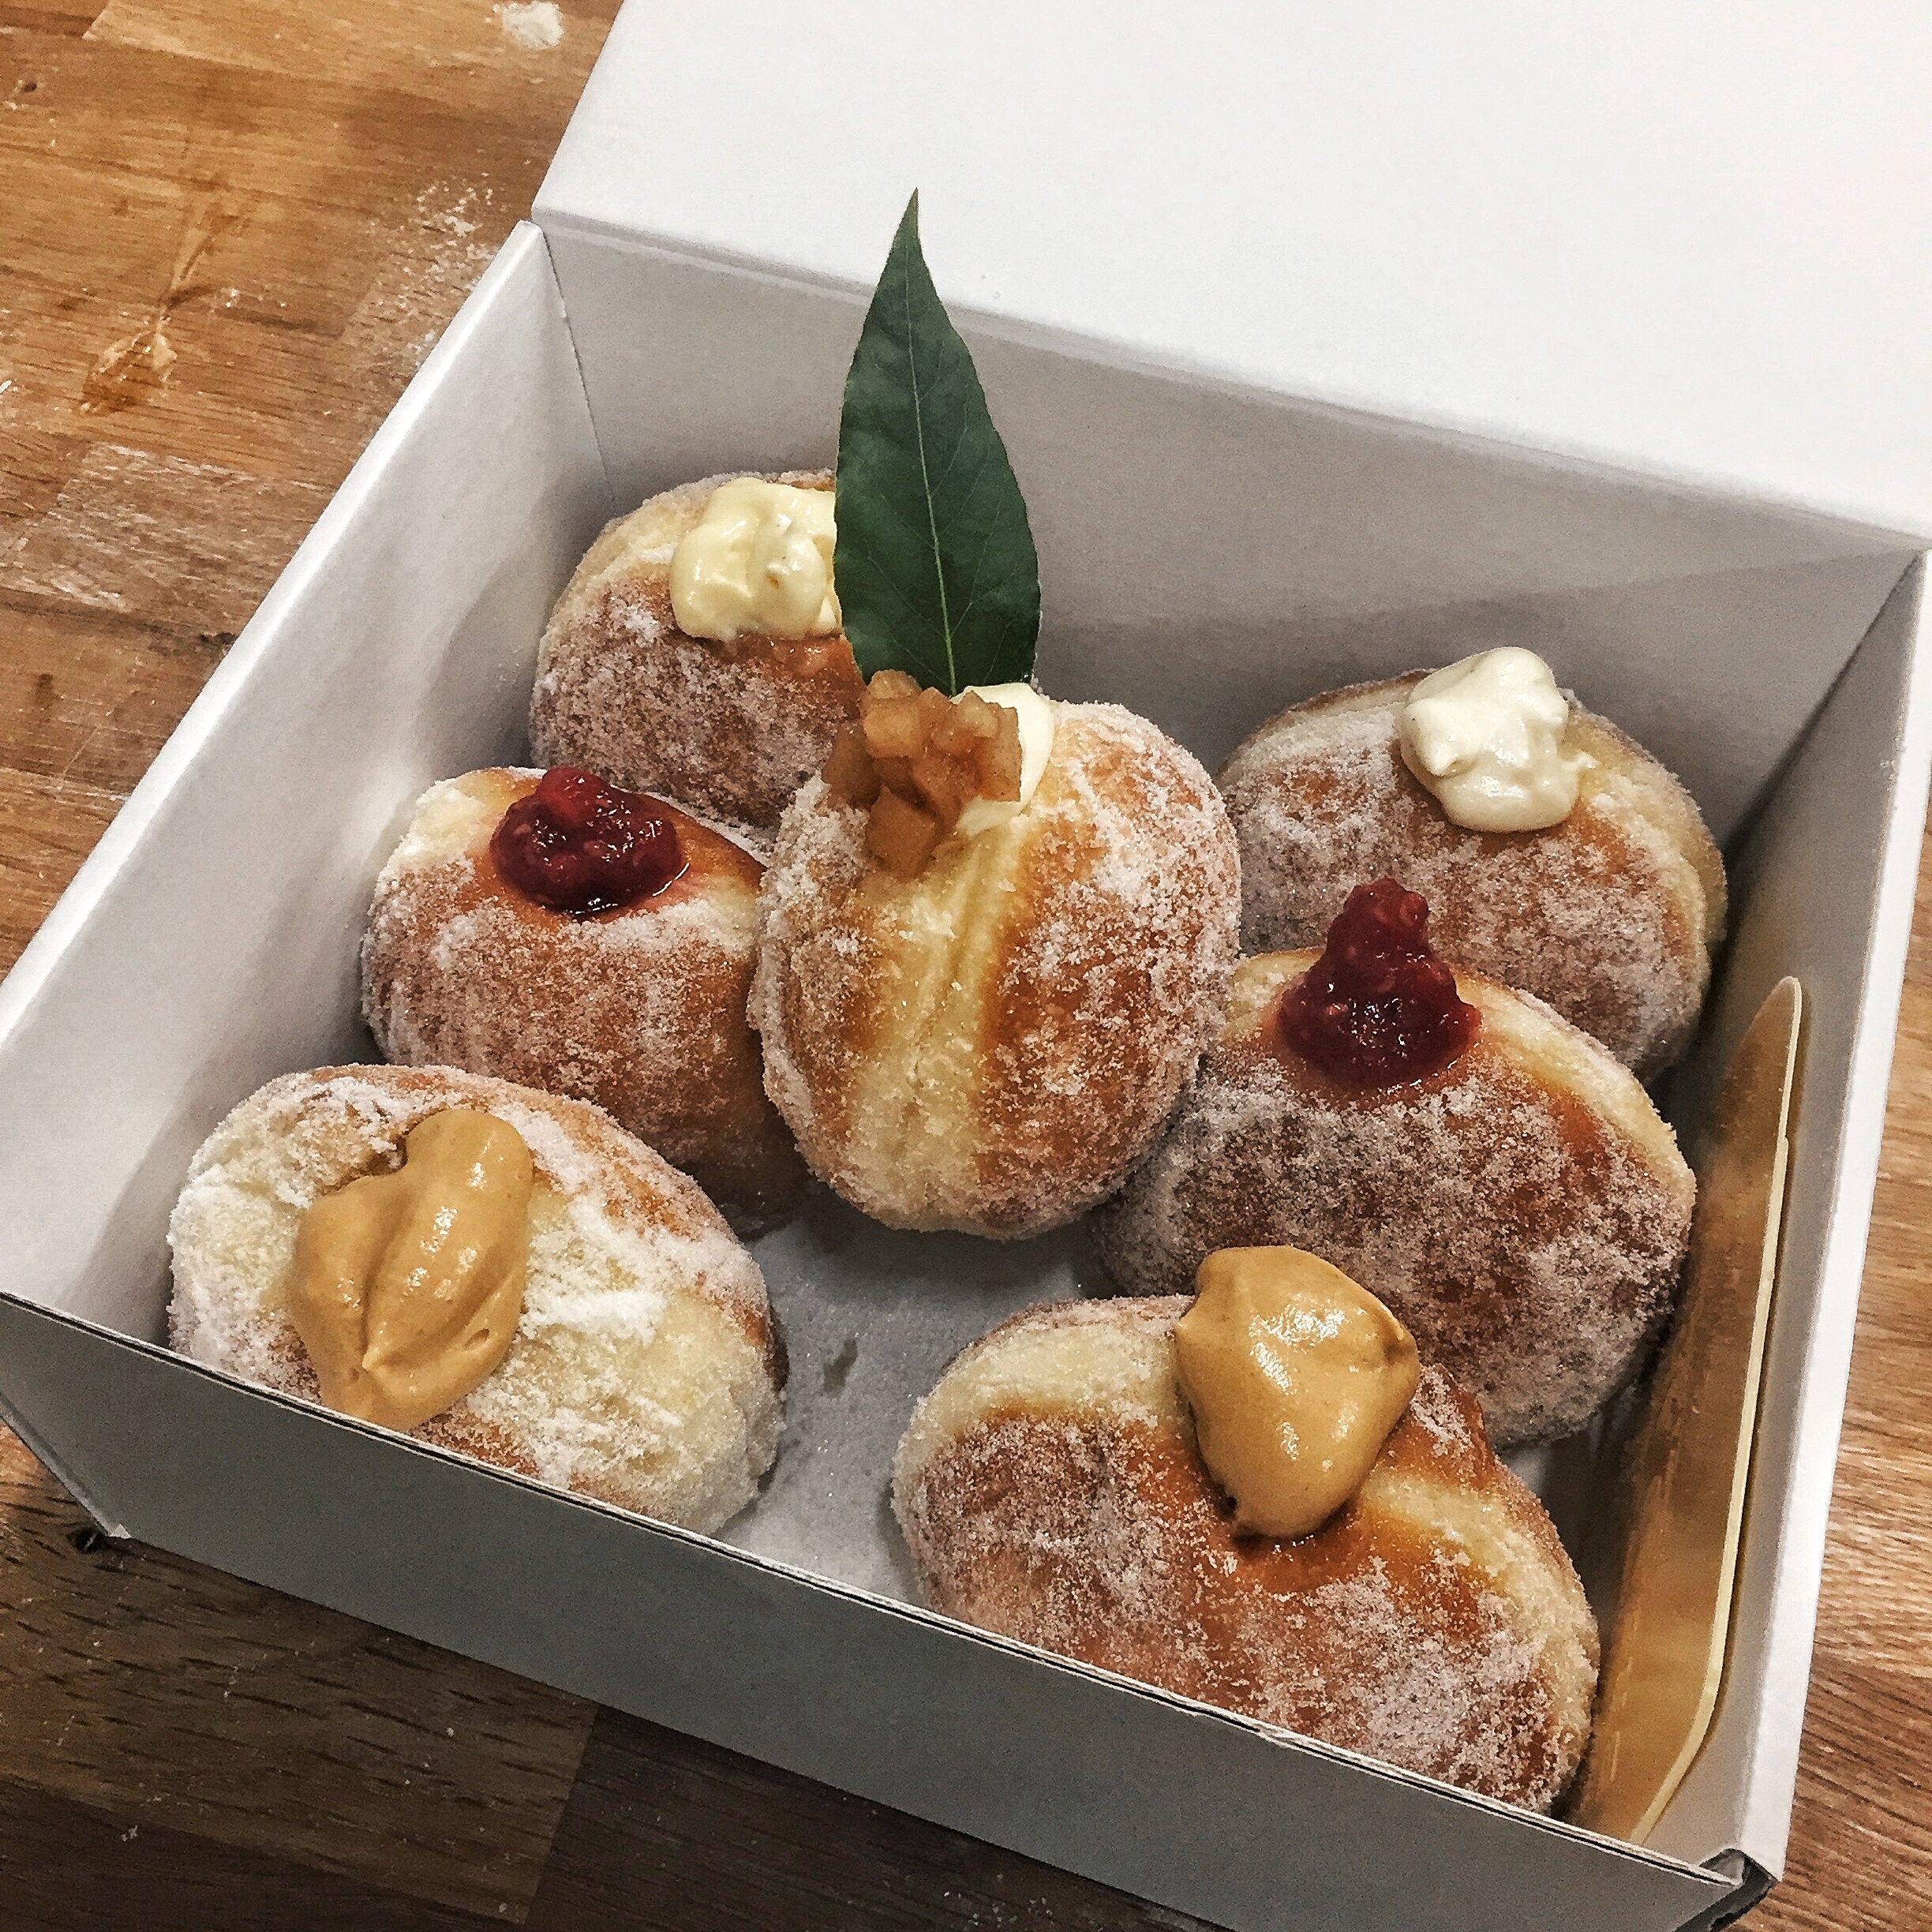
This 'band of truth' isn't just for aesthetics, but used to judge how the filling. Poking a hole through into the middle, as you squeeze the filling in, the white ring expands and you can watch the doughnuts swell to a satisfying weight, leaving a swirl on top to indicate what's inside. With three flavours available: Crème pâtissière, salted caramel and homemade apple and raspberry jam I plump for two of each, earmarking a salted caramel one, unlikely to be shared.
Organised to the very last detail, this course is professional and well rehearsed but at no point do the chef's jokes feel tired or his enthusiasm forced or trite. With an added sweet touch, his wife Louise is also in the bakery with us, assisting with the preparation, clean up and dangerous task of pouring the decorative molten honeycomb.
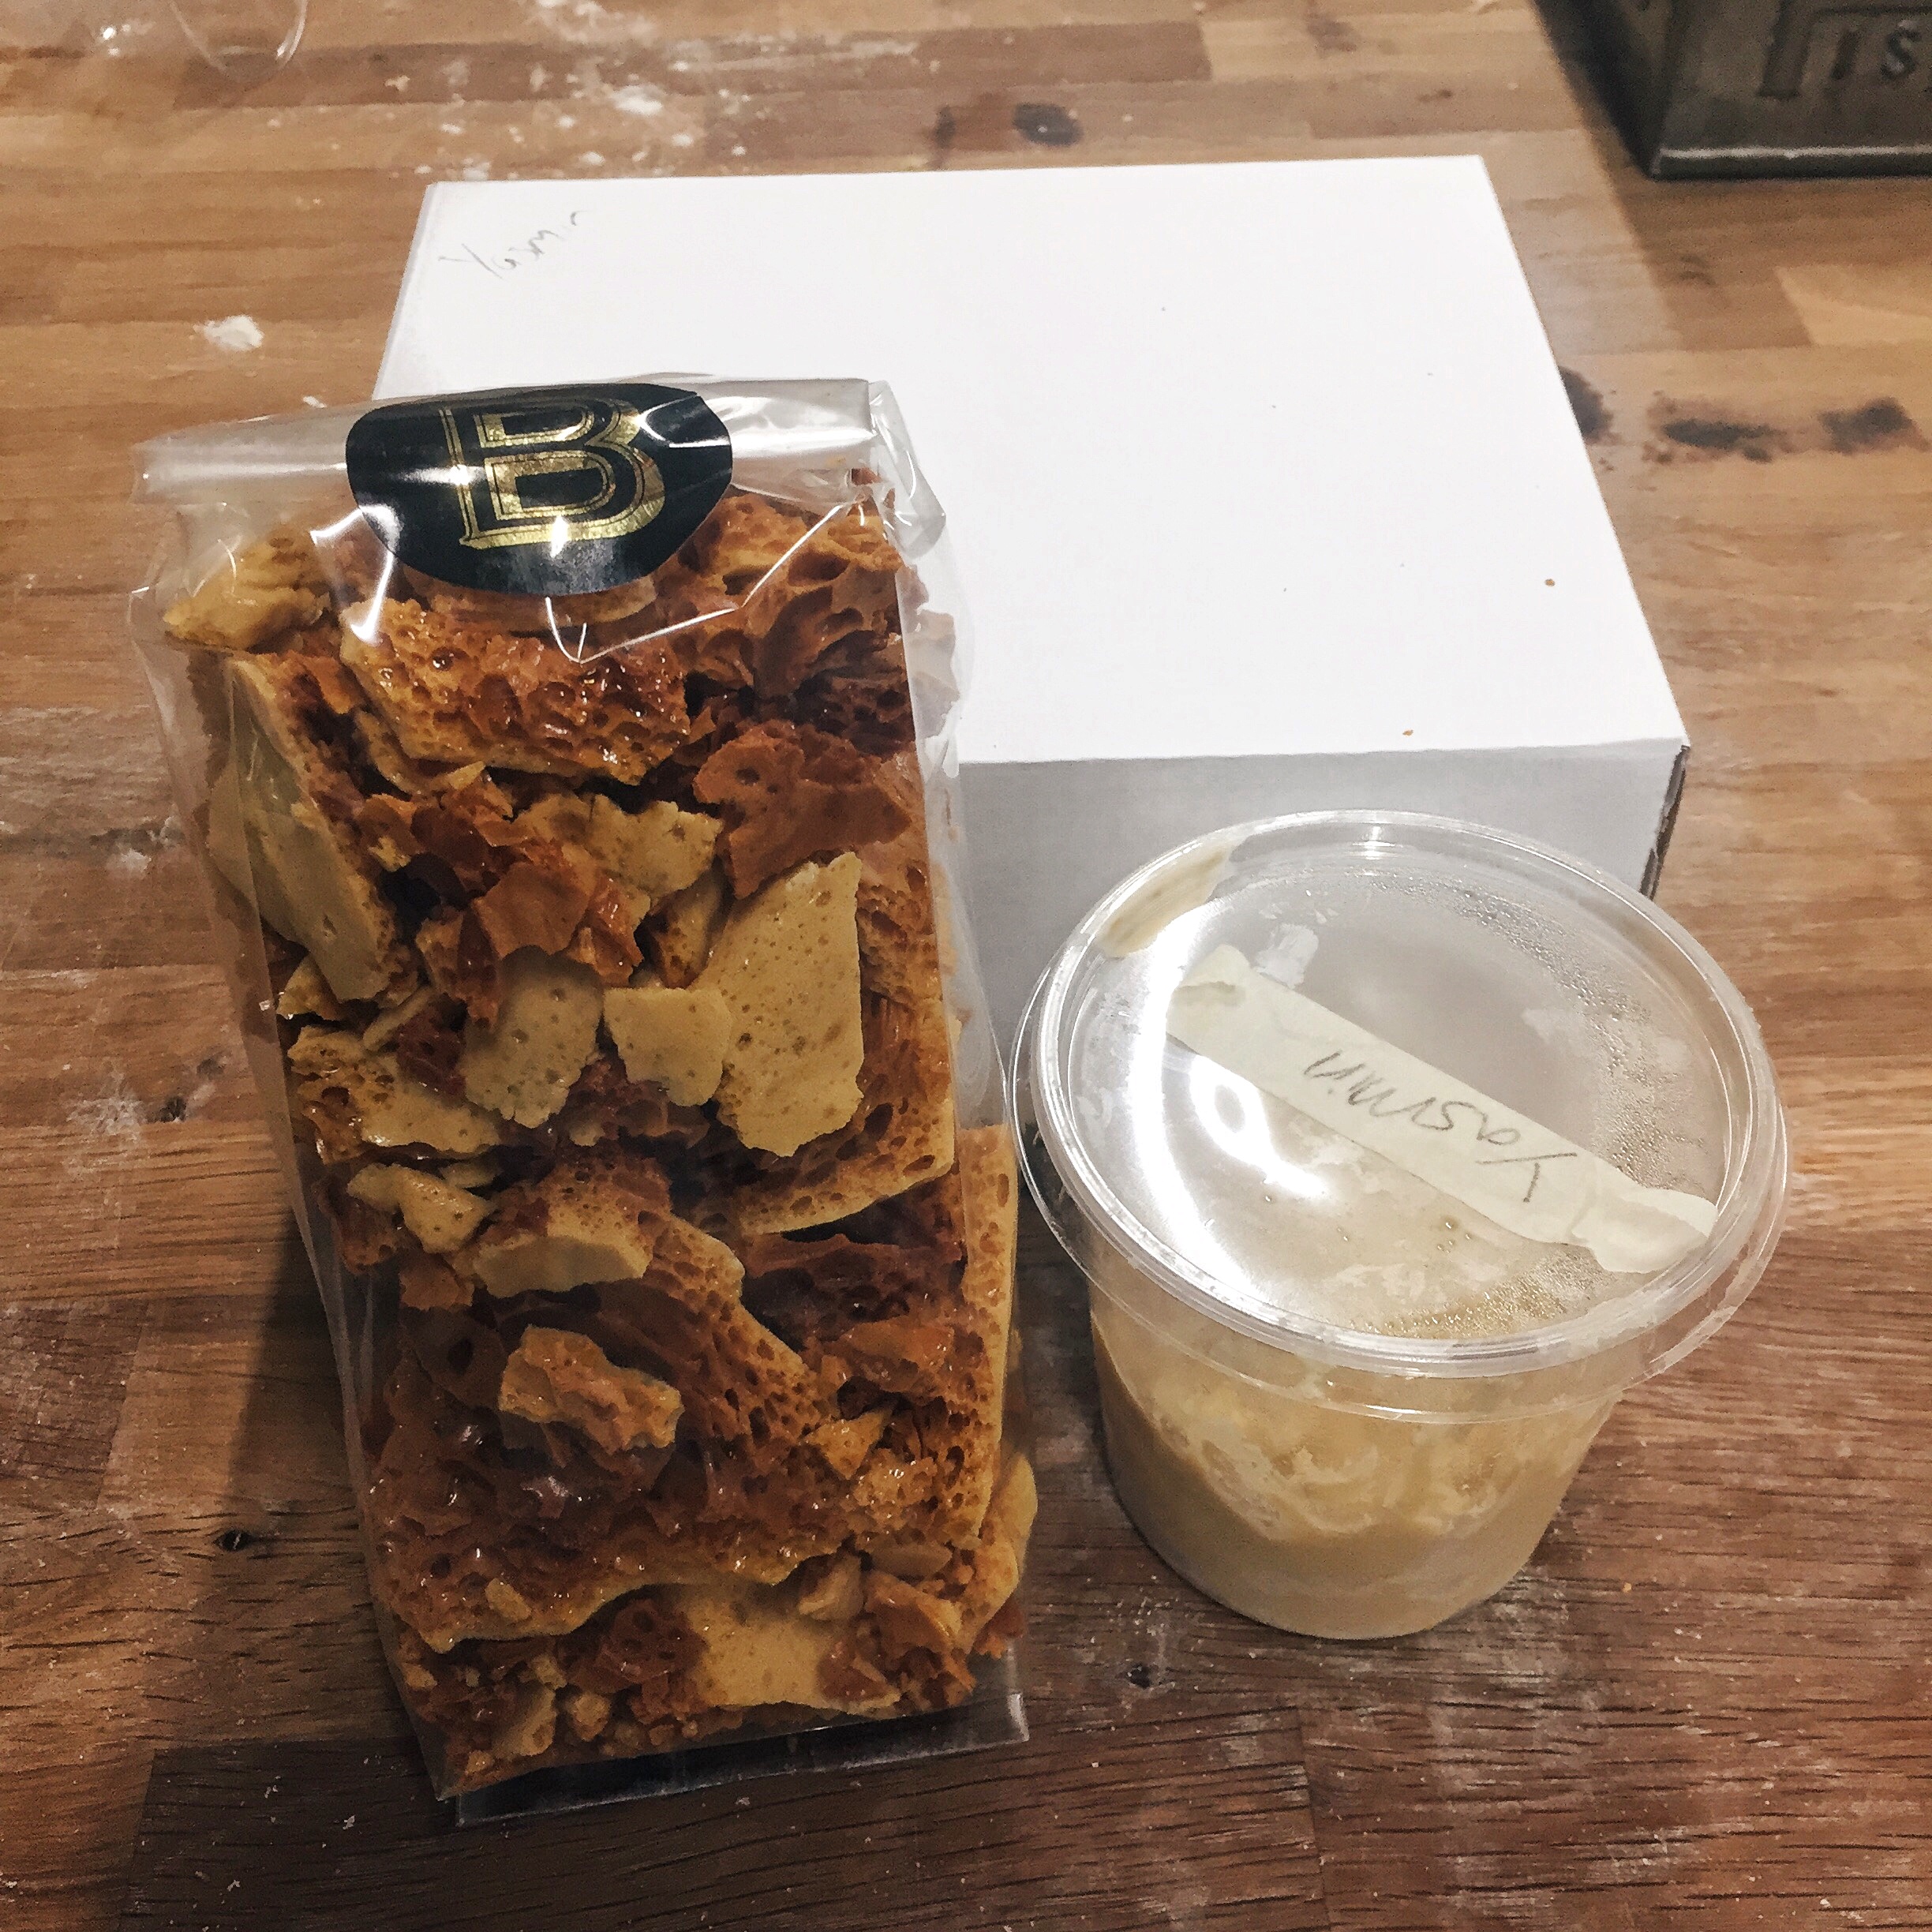
Learning how to create these balls of sugary goodness was one of my favourite weekend activities and I would recommend the course without hesitation. Admittedly at £80 per person, it is leaning towards a special occasion rather than on a par with a good trip to the movies. That said, you get 3 hours with one of the three original bakers of Bread Ahead, half a dozen doughnuts and enough dough to make the same again at home; plus the recipes for the dough, the base filling, one flavoured filling and the honeycomb. Oh and the scraper device that will save you from losing 50% of the ingredients remaining stuck on your fingers and hands.
If you do fancy taking one of Bread Ahead's amazing bakery school courses, you can book through their calendar or purchase a gift voucher to choose the class at a later date. Enjoy!